Showing posts with label Freezer Friendly. Show all posts

Thursday, August 11, 2016

Best When Made From Scratch


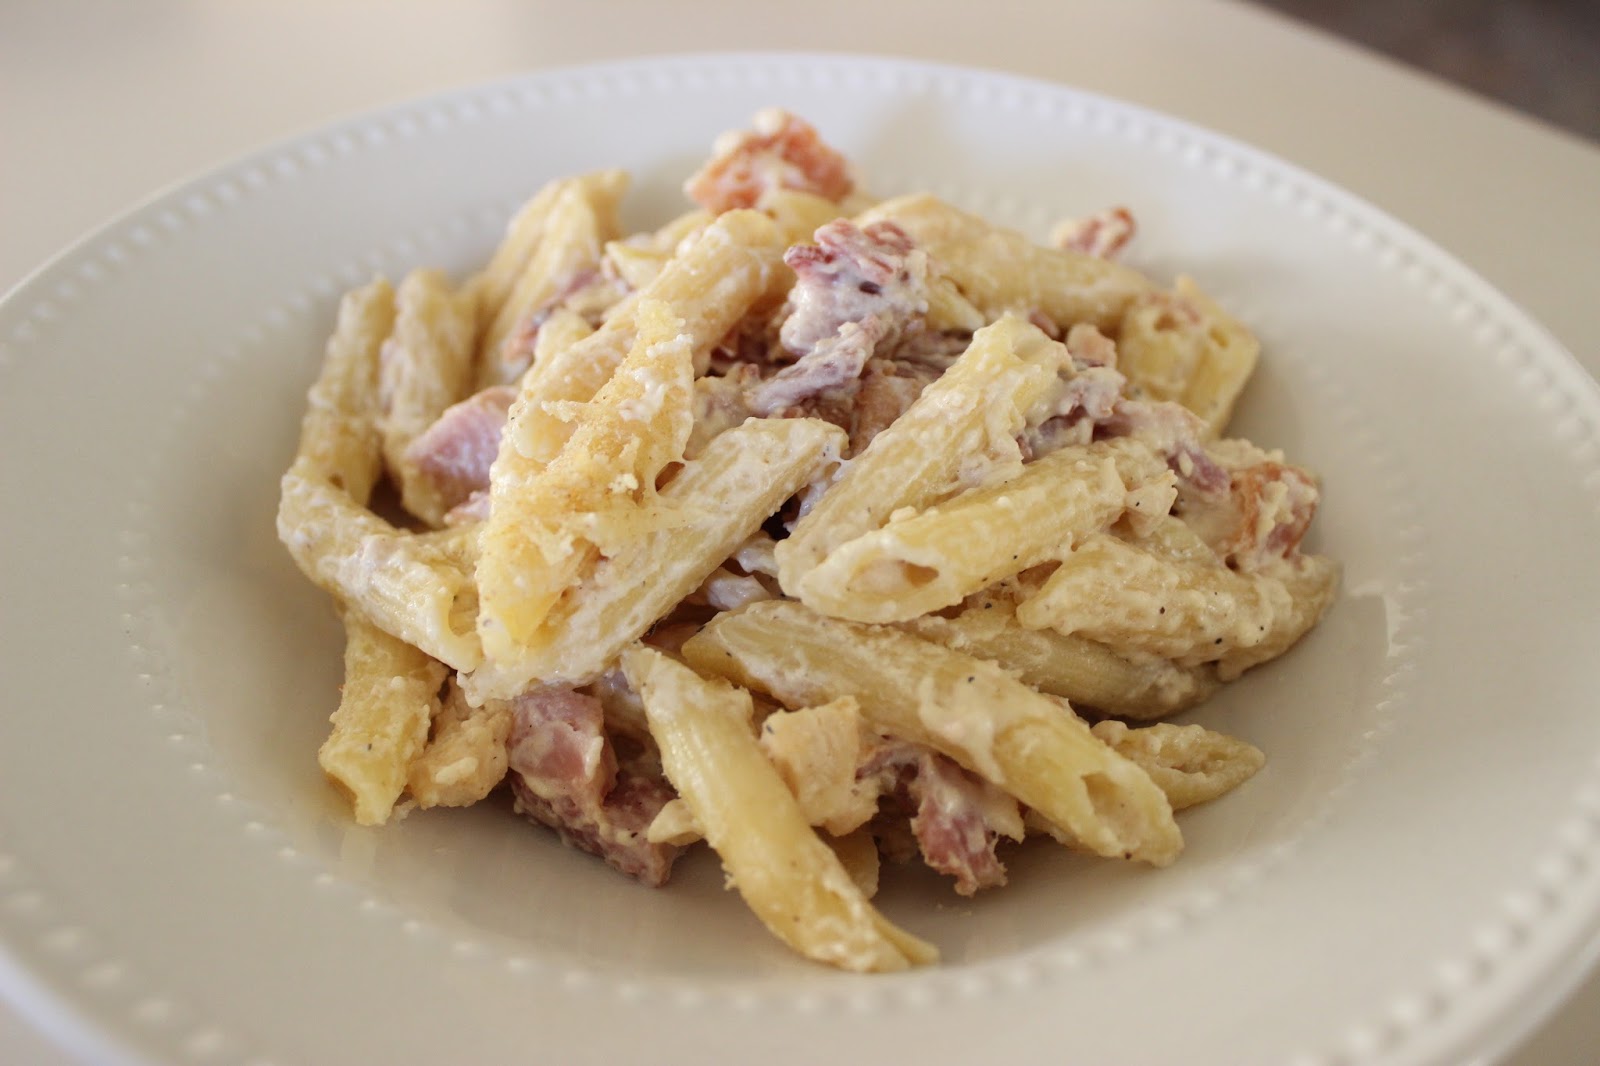
I found the original recipe for this on Pinterest years ago. The original recipe simply called for shredded or cubed beef, canned refried beans, canned enchilada sauce, etc. That is definitely the easy version of this recipe. The version I prefer is a from-scratch recipe for each ingredient called for in this recipe. Mexican-style shredded beef, homemade enchilada sauce, and even homemade (though still simple) refried beans. Oh, what a difference it makes! The leftovers are almost even better after the flavors have had even more time to meld. Yummy! Maybe one of these days, I will make them with homemade tortillas as well!


Chile-Colorado Burritos

Ingredients:

Mexican-Style Shredded Beef (recipe below)
Enchilada sauce (recipe below)
Refried beans (recipe below)
8 large tortillas
Shredded Cheddar-Jack cheese
Chopped cilantro, optional

Directions:

Mix shredded beef into enchilada sauce.

Preheat oven to 350 degrees F.

Spread 1-2 tablespoons refried beans onto each tortilla. Top with about 1/4 cup beef (use a slotted spoon). Roll into a burrito and place in a 9x13-inch baking dish. Repeat with all eight burritos. Top with remaining beef/enchilada sauce mixture. Top with shredded cheese and bake until hot and bubbly and cheese is melted (about 25 minutes). Serve with chopped cilantro, if desired.

Source: This was inspired by a recipe I found on Pinterest that originally came from a site called Food Pusher. You can find that original recipe here.

Notes: The combination of these flavors is just comfort food at its finest. Yum!

These also freeze really well. To bake after freezing, thaw in refrigerator overnight and bake in 350 degree F. oven for 30 minutes, or until hot and bubbly throughout. To bake from frozen, keep covered with foil and bake in a 350 degree F. oven for 30 minutes. Remove foil and bake another 20-30 minutes, or until hot and bubbly throughout and cheese is nicely melted.


Mexican-Style Shredded Beef

Ingredients:

1 boneless beef chuck shoulder roast (about 3 pounds)
1 tablespoon ground cumin
1 tablespoon ground coriander
1 tablespoon chili powder
1 teaspoon salt
1/2 teaspoon ground red pepper
1 cup salsa or picante sauce
2 tablespoons water
1 tablespoon cornstarch

Directions:

Place roast in slow cooker. Combine cumin, coriander, chili powder, salt, and red pepper in a small bowl. Place beef in slow cooker. Pour spices over beef and top with salsa.

Cover; cook on low 8-10 hours or until meat is tender.

Remove beef from slow cooker. Trim and discard excess fat from beef. Shred meat with two forks.

Let cooking liquid stand 5 minutes to allow fat to rise. Skim off fat. Blend water and cornstarch until smooth. Wisk into liquid in slow cooker. Cook, uncovered, 15 minutes on high until thickened. Return beef to slow cooker. Cover; cook 15-30 minutes or until hot. Adjust seasonings.

Serve as a meat filling for tacos, fajitas, enchiladas, quesadillas, or burritos. Leftover beef may be refrigerated up to 3 days or frozen up to 3 months.

Source: This recipe came from a cookbook called "Simple 1-2-3 One Dish" ISBN-13: 978-1-4127-2323-7. You can find it here.


Enchilada Sauce

Ingredients:

1 tablespoon vegetable oil
1 cup diced onion
3 tablespoons chopped garlic
1 teaspoon dried oregano
1 teaspoon ground cumin
1/4 teaspoon ground cinnamon
3 tablespoons all-purpose flour
5 tablespoons hot chili powder
4 1/2 cups chicken broth
1/2 (1 ounce) square semisweet chocolate

Directions:

Heat oil in a large saucepan over medium-high heat. Saute onion until tender. Stir in garlic, oregano, cumin, and cinnamon; saute for a few minutes.

Stir in flour and chili powder, stirring until evenly coated. Slowly whisk in chicken broth; reduce until sauce reaches desired consistency. Stir in chocolate until melted and well blended.

Source: Allrecipes.com, recipe submitted by Anna Marie. You can find it here.


Refried Beans

Ingredients:

1/4 cup shortening
3 (15 ounce) cans pinto beans, rinsed and drained
Salt, to taste
1 teaspoon cumin
1/2 teaspoon garlic powder
1 can diced green chiles, optional
Lime juice, to taste, optional

Directions:

Heat beans and shortening in a medium pan until heated through. Add salt, cumin, and garlic powder. Mash with a potato masher to desired consistency. Add diced green chiles and lime juice, if desired. Taste and adjust seasonings, if necessary.

Source: This was inspired by two recipes that I found on Allrecipes.com. This one submitted by Buffy Ehlers Whitney and this one submitted by MarasFlourpower.

Saturday, July 2, 2016

Only As Good As Your Star Ingredient


Here's a recipe that is simple, tasty, and which completely relies on one main ingredient for its success. Don't skimp on this very important ingredient. What is the ingredient that is so vital in this recipe, you ask? Ranch dressing. My suggestion here is to skip the bottled ranch dressing (unless it comes from the refrigerated section/produce section) and make a homemade ranch dressing with milk/buttermilk, mayo, and a Hidden Valley Ranch dressing packet. There. You've been warned. If you follow this advice...ambrosia. If not, mediocrity.


Make-Ahead Chicken Bacon Ranch Pasta

Ingredients:

1 lb. uncooked rotini pasta
3 cups shredded or pulled deli rotisserie chicken
1 bottle (16 oz) ranch dressing (go big or go home! Make it from scratch or use something bottled that is really good!)
1 cup crisply cooked and crumbled bacon (9 to 11 slices)
2 cups shredded Italian cheese blend (8 oz)

Directions:

Cook and drain pasta as directed on package.

In large bowl, mix pasta and remaining ingredients.

To freeze: Spray 2 (8-inch) disposable foil cake pans with cooking spray. Cook and drain pasta as directed on package. In large bowl, mix pasta, chicken, dressing, and bacon. Divide mixture between pans. Top with cheese. Spray pieces of foil large enough to cover pans with cooking spray. Cover pans with foil, sprayed side down. Place foil-covered pans in gallon-size resealable freezer plastic bags, or wrap in double layer of plastic wrap. Label and freeze. To bake: Thaw pan(s) overnight in refrigerator. Heat oven to 350 degrees F. Remove from plastic, and place foil-covered pan(s) on cookie sheet. Bake 40-50 minutes or until instant-read thermometer inserted in center of mixture reads 165 degrees F. If baking from frozen, bake 60-75 minutes.

Source: Pillsbury website. You can find it here.

Notes: This is good and kid-friendly. Just be sure not to skimp on the quality of ranch dressing you use!

Tuesday, June 9, 2015

Make Ahead Breakfast


I've made these in the past. In fact, they have been a staple for a long time now. You can the post where I originally shared them here.


Breakfast Egg Sandwiches

Ingredients:

English muffins
Eggs
Canadian bacon slices
Shredded cheese
Salt and pepper

Directions:

Halve and toast English muffin. Top with one slice of Canadian bacon. Set aside.

Crack one egg into a small, microwave-safe bowl. Whisk the egg with a fork and season with salt and pepper, to taste. Microwave for 30 seconds. Remove from microwave and top with about 1 tbsp. shredded cheese. Microwave for another 30 seconds.

Using a fork or a spoon, remove egg intact and place on the half of the English muffin without Canadian bacon. Top with the the Canadian bacon and other half of English muffin.

Serve immediately or let cool and wrap with plastic wrap, place in a freezer zip top bag and freeze. Thaw breakfast sandwiches as needed and reheat in the microwave, or reheat in the microwave from frozen.

Source: I saw the idea for this online years ago and changed up the cooking method to fit my needs.

Notes: You can make this with English muffins, croissants, bagels, or simply toast. You can also use two eggs instead of one if you want something more filling, or to fit it to a larger croissant or bagel.

I like to buy a 12 pack of English muffins and make a big batch for freezing all at once.

Here are some step-by-step pictures:


Above: Crack egg into a small microwave-safe bowl.


Above: Season with salt and pepper.


Above: Scramble eggs with a fork.


Above: Microwave for 30 seconds.


Above: Add shredded cheese and microwave for another 30 seconds.


Above: Remove from bowl with a fork or spoon being careful to keep egg intact.


Above: Top with Canadian bacon and other half of English muffin.


Above: Your breakfast sandwich is now ready to eat, or you can wrap it in plastic wrap and freeze it for later.


Above: Store in the freezer in a freezer bag until ready.

Sunday, April 12, 2015

Easter Leftovers, Part 2


Here is another recipe I found to help me use up my leftover Easter ham. I have since made it twice (first, as originally written, and second, slightly lightened up). Be sure to read my notes to see what I changed to create a lighter version.


Chicken Cordon Bleu Pasta Recipe

Ingredients:

3 cups uncooked penne pasta
2 cups heavy whipping cream
1 package (8 ounces) cream cheese, softened and cubed
1 1/2 cups (6 ounces) shredded Swiss cheese, divided
1/2 teaspoon onion powder
1/2 teaspoon garlic salt
1/4 teaspoon pepper
3 cups sliced cooked chicken breast
3/4 cup crumbled cooked bacon
3/4 cup cubed fully cooked ham
3 tablespoons dry bread crumbs

Directions:

Preheat oven to 350 degrees F. Cook pasta according to package directions for al dente; drain.

Meanwhile, in a large saucepan, heat cream and cream cheese over medium heat until smooth, stirring occasionally. Stir in 1 cup Swiss cheese, onion powder, garlic salt, and pepper until blended.

In a large bowl, combine chicken, bacon, ham, and pasta. Add sauce; toss to coat. Transfer to a greased 13x9-in. baking dish. Sprinkle with remaining cheese; top with bread crumbs. Bake, uncovered, 18-22 minutes or until heated through.

Yield: 6 servings.

Nutrition information: 1 1/2 cups equals 826 calories, 56 g fat, 249 mg cholesterol, 1,093 mg sodium, 33 g carbohydrate, 1 g fiber, 47 g protein.

Source: Taste of Home. You can find it here.


Notes: This was really good. Baking it takes away a bit of the creaminess, however. It is fantastic baked, but if you want a really creamy pasta, I would suggest skipping the baking process and just serving it after tossing the chicken, bacon, ham, pasta, and sauce together. I've tasted it both ways and can tell you that it is great baked and unbaked.

My lightened version: To lighten this recipe, I substituted two 12 oz cans of evaporated milk for the cream. I also substituted Neufschatel cheese for the cream cheese. Honestly, it tasted almost exactly the same.

The only other change I made was that I added a lot more pepper. I would suggest adding the onion powder, garlic salt, and pepper to your taste.

This is also freezer friendly. Once you toss the chicken, bacon, ham, pasta, and sauce together, then top with cheese and bread crumbs and put in an aluminum baking pan, cover with foil, and place in the freezer. When you are ready to eat it, thaw it in the refrigerator overnight and bake as directed. If you would like to bake it from frozen, keep it covered and bake until thawed. Remove foil and continue baking until hot and bubbling and cheese on top is melted.

Tuesday, March 10, 2015

Super Easy Freezer Meal


In my search for easy freezer meals (that can be taken to neighbors in need or used for my own family in a pinch), I came across this meal. It is so easy to throw together! I am going to type the recipe as originally written and then discuss my changes in the notes.


Swiss Cheese Chicken

Ingredients:

4 chicken breasts (or enough to fill a 9x13 pan)
6 slices Swiss cheese
1 can cream of chicken soup
1/4 cup milk
Stove Top Turkey or Chicken Stuffing
1/4 cup butter, melted

Directions:

Cover bottom of pan with chicken.

Lay the Swiss cheese over the chicken.

Mix cream of chicken soup and milk together until creamy. Spread mixture over chicken.

Top with 1/2 bag (or more) of stuffing. Drizzle with melted butter.

Bake at 350 degrees F for 45-60 minutes, or until chicken is done.

Serve over cooked white rice, if desired.

Freezer directions:

To freeze, cover bottom of pan with chicken and top with Swiss cheese and cream of chicken mixture. Freeze. When needed, thaw in fridge overnight and then top with stuffing and melted butter and bake as directed.

Source: I found this on Pinterest. It is on a site called Or So She Says and you can find it here. Great pictures there, by the way. I also found it on this site as well. No pictures on the second site, but the recipe is listed in a much easier to read manner.

Notes: I did not serve my chicken over rice. I figured that with the stuffing on top, I had my carbs and grains covered and I didn't need to add more to it. This is down home comfort food and it is just so easy to make. The only thing I don't like about it when it comes to being a freezer meal is that you can't just simply pop it in the oven as is. You have to thaw it and then do a little more prep before it is ready for the oven. In that case, something like a baked pasta or enchiladas wins because you can just pop those in the oven. However, you can't beat this ease and speed of preparation, that is for sure.


Above: I added the whole box of stuffing. Hey, if I am going to skip the rice, you had better bet I am going to use all the stuffing! Besides, I love stuffing! Since I used all the stuffing, I would increase the melted butter next time to 1/2 cup (or one stick). Yeah, not the healthiest way to go, but there you have it. :)


Sunday, May 25, 2014

A Different Kind of Burger


Not only is this a change of pace from your normal burger, but the patties are freezer friendly! So, make some patties ahead of time and pull them out of the freezer whenever you are feeling like having a burger.


Turkey Burgers

Ingredients:

6 slices whole-wheat sandwich bread (see notes below)
1 pound lean ground turkey (7 percent fat)
1/2 cup reducted-fat sour cream
4 tablespoons prepared mango chutney, preferably Major Grey's, finely chopped
2 tablespoons Dijon mustard
1 tablespoon chili powder
Coarse salt
1 cup mesclun lettuce mix
1 medium tomato, sliced

Directions:

In a medium bowl, tear 2 slices bread into small pieces. Add turkey, sour cream, 3 tablespoons chutney, 1 tablespoon mustard, chili powder, and 1 teaspoon coarse salt. Shape into 4 firmly packed 5-inch round patties.

Freeze on a baking sheet until firm, about 30 minutes, then wrap each burger in plastic; place all burgers in a resealable freezer bag, label, and date. Freeze up to 2 months.

To cook: Thaw burgers overnight in the refrigerator. Heat broiler with rack set 4 inches from heat. Place burgers on a rimmed baking sheet; broil until firm and cooked through, 4 to 5 minutes per side.

Lightly toast 4 slices bread. Dividing evenly, top each with lettuce, burger, and tomato. Stir together 1 tablespoon each chutney and mustard, and serve alongside burgers.

Recipe note: When burgers are wrapped separately, you can defrost as few or as many as you need.

Source: Martha Stewart. You can find it here.

Notes: I couldn't find a mesclun lettuce mix, so I used a spring lettuce mix, and I thought it worked great (also, that could be the same thing...). Also, we didn't do these as open faced sandwiches. If you choose to do it that way, you will need two slices of bread for the meat mixture, and two slices of bread per burger (or 8 slices total to make 4 burgers. Also, I got about 6 patties out of this, not 4. I made some smaller ones so they would be kid-sized for my little boys.

Tuesday, April 22, 2014

Freezable


These taquitos are freezable if there are any leftovers, that is!


Baked Cream Chicken Taquitos

Ingredients:

1/3 cup 3 oz)0 cream cheese
1/4 cup green salsa
1 tablespoon fresh lime juice
1/2 teaspoon cumin
1 teaspoon chili powder
1/2 teaspoon onion powder
1/4 teaspoon granulated garlic
3 tablespoons chopped cilantro
2 tablespoons sliced green onions
2 cups shredded cooked chicken
1 cup grated pepper jack cheese
Small corn tortillas (or flour tortillas)
Salt, to taste
Cooking spray

Directions:

Heat oven to 425 degrees F. Line a baking sheet with foil and lightly coat with cooking spray.

Heat cream cheese in the microwave for about 20-30 seconds so it is soft and easy to stir. Add green salsa, lime juice, cumin, chili powder, onion powder, and granulated garlic. Stir to combine and then add cilantro and green onions. Add chicken and cheese and combine well.

You can prepare up to this step ahead of time. Just keep the mixture in the fridge.

Work with a few tortillas at a time and heat in the microwave until they are soft enough to roll without cracking. It helps to place them between damp paper towels. Usually 20-30 seconds will do it. If you find yours are cracking when you roll them, or come unrolled right away, just try heating them longer, and try the paper towel thing. (see notes below)

Place 2-3 tablespoons of chicken mixture on the lower third of a tortilla, keeping it about 1/2 inch from the edges.

Then roll it up as tight as you can.

Place seam side down on the baking sheet. Lay all of the taquitos on the baking sheet and make sure they are not touching each other. Spray the tops lightly with cooking spray or an oil mister and sprinkle some kosher salt on top.

Place pan in oven and bake for 15-20 minutes or until crisp and the ends start to get golden brown.

Source: Our Best Bites. You can find the recipe here.


Notes: These are great with both flour tortillas and corn tortillas. However, unless I fry the corn tortillas in a little oil for about 10-30 seconds per side, the tortillas will split (at least that is what always happens to me--perhaps you will have better luck than I do). So, I fry my tortillas and then drain them on some paper towels.


Above: Yup, this is what my taquitos look like if I use the wet paper towel method. They split on me during baking.

You can freeze these and then bake them from frozen until cooked through and browned.


Above: Here they are with flour tortillas. This is the way Johnny preferred them.

These are so absolutely delicious. Besides that, Johnny loved these. Very good!


Taco Chicken

Ingredients:

1 lb. chicken breasts or thighs

Marinade:

A couple of juicy limes
A splash of red wine vinegar
2-3 cloves garlic, pressed or coarsely chopped

Spice rub:

1 teaspoon chili powder
1/2 teaspoon cumin
1/2 teaspoon salt
1/2 teaspoon black pepper

Directions:

Juice the limes and combine with a couple splashes of red wine vinegar. Add garlic. Pour over chicken. This will not completely cover the chicken; just turn it occasionally as needed. Marinate for at least 4 hours, no longer than 8.

Heat an outdoor grill (or you can broil the chicken in your oven). Combine salt, chili powder, cumin, and black pepper in a small bowl. Remove chicken from marinade and rub the spices all over the chicken.

Grill about 7 minutes per side.

Remove from heat and allow to stand a few minutes before serving. You can either serve whole with Mexican rice and beans or slice it or shred it to use as taco meat.

Source: Our Best Bites. You can find the recipe here.

Monday, April 21, 2014

Slow Cooker Chicken Pasta Sauces


These two chicken pasta sauces are pretty similar, but they are both really good. The first one is one I found and tried simply because it sounded similar to the second one. The second one was brought to me for a dinner by a good neighbor friend when I wasn't feeling well.

Oh, and I can't forget the tried and true chicken pasta sauce recipe that is an old family favorite (and which we have already blogged). You can find the recipe for Creamy Italian Chicken Linguine here.


Slow Cooker Bacon-Ranch Chicken and Pasta

Ingredients:

1 lb. chicken breasts
6 slices bacon, cooked and diced
2-3 cloves garlic, finely chopped
1 package (1 oz) ranch dressing and seasoning mix
1 can (10.75 oz) condensed cream of chicken soup
1 cup sour cream
1/2 teaspoon pepper
1/2 cup water
8 oz spaghetti, cooked (any kind of pasta will work)

Directions:

Spray 4-quart slow cooker with cooking spray, place chicken breasts in cooker.

In medium bowl, mix remaining ingredients except spaghetti. Pour over top of chicken.

Cover; cook on low heat setting 6 hours or on high heat setting 3 to 4 hours.

When about 15 minutes are left, cook and drain spaghetti as directed on package.

Just before serving, shred chicken with 2 forks, and toss creamy chicken mixture with cooked spaghetti.

Makes 6 servings.


Source: Betty Crocker website, contributed by blogger Corey Valley of Family Fresh Meals. You can find her blog here. You can find the link to the recipe on the Betty Crocker website here.


Slow Cooker Chicken Penne Pasta

Ingredients:

4 chicken breast halves
1 bottle Lawry's Mesquite Lime Marinade (see note below)
1 lb. thick cut bacon, cooked and diced
2 cups heavy cream
1 tsp. black pepper
1 tsp. salt (or less or more to your taste)
1/2 cup (1 stick) butter
1 teaspoon garlic, minced
1/2 cup shredded Parmesan
1 (16 oz) package) penne pasta

Directions:

Place chicken and Mesquite Lime marinade in slow cooker. Heat on low for 6 hours, or until done. Shred chicken.

Cook penne pasta according to package directions.

In a small pan, whisk cream, pepper, butter, and garlic. Heat slowly. As the mixture thickens, add cheese.

Combine chicken, bacon, pasta, and sauce. Sprinkle with additional Parmesan cheese, to taste. If desired, bake this pasta in a 9x13 pan in a 350 degree F oven until the cheese has melted and the pasta is warm and bubbling throughout.

Source: I got this from my neighbor, Emily Tanner. I believe she got it from another neighbor. So, pass it on and enjoy!

Notes: This recipe can be baked or not. It tastes great both ways. This pasta is also freezer friendly. I freeze it in a 9x13 aluminum pan, let it thaw in the fridge overnight, and then bake it in a 350 degree F oven, covered, until heated through, and then I remove the foil and continue to bake until the cheese is melted and it is warm and bubbling throughout.

Also, I checked a couple of stores for the Lawry's Mesquite Lime Marinade. One store was out. The other store didn't carry it. So, I used a bottle of Kroger's Lime Tequila Marinade and I felt that it worked equally well--though perhaps this marinade was a little on the sweet side, which is why I used 1 teaspoon of salt to balance it out. Not the healthiest pasta recipe ever, but definitely a super tasty one!


6/17/2014 Update: I finally found some Lawry's Mesquite Lime Marinade (my store had finally restocked their shelves), so I made this again using that marinade. I liked it that way too, but it looks completely different that way, and it has a southwest flavor. Honestly, I'm not sure which marinade I liked better in this recipe. They were just both so different, but both so good. I think this is the kind of recipe that you could switch up flavors by using different marinades. I'm going to make this again soon using another flavor of marinade. I will report back in a few weeks! After that, I need to take a break from making this because it is NOT a light recipe!


Above: Here it is with the Lawry's Mesquite Lime Marinade.


Above: Good stuff! I can't wait to try it again with yet another flavor of marinade!
 

Saturday, March 22, 2014

Better Than Store-Bought


One day, I was craving enchiladas kind of like the kind that you buy frozen at the grocery store (you know, the family size tray of enchiladas that have rice in them). So, I decided to do a search for enchiladas with rice in them, and I found this one.

This recipe totally satisfied my craving and then some. It makes a huge batch of enchiladas (two trays). So, it is a great recipe to feed a crowd, or if you want to freeze a tray for another day, or if you are in need of a dinner to make for your family and take to another family at the same time. This is what I did. I made some for us, and took some to others.

I really loved these. They were so easy. You can make them with either flour or corn tortillas. The choice is up to you. However, if you decide to use corn tortillas, I would suggest frying them in a little hot oil for about 10-15 seconds on each side. This keeps the tortillas from splitting or tearing as you roll them or as they cook. I also used more enchilada sauce (I doubled it) because I like my enchiladas saucy!


Green Sauce Enchiladas

Ingredients:

1 tablespoon butter
1 cup white rice
1 (14.5 ounce) can chicken broth
3 boneless chicken breast halves, poached and cubed (or shredded)
1 pound Monterey Jack cheese, shredded
1 (11 ounce) can sweet corn, drained
1 teaspoon cumin
Salt and pepper, to taste
1 (24 ounce) can green enchilada sauce (I used two 24 ounce cans--one can for each 9x13-inch pan)
24 (6 inch) corn tortillas or 12-16 flour tortillas
Sour cream, optional
Chopped fresh cilantro, optional

Directions:

In a large skillet, saute rice with butter or margarine. Add chicken broth and simmer over low heat for 15 to 20 minutes, or until rice is cooked and tender. Let cool.

Preheat oven to 350 degrees F (175 degrees C).

Combine chicken, 3/4 pound shredded cheese, corn, cooled rice, cumin, 1/4 cup sauce, and salt and pepper to taste in a large bowl. Mix together. Warm tortillas in the microwave for 2 minutes (or lightly fry each tortilla in hot oil). Spread another 1/4 cup sauce in the bottom of a 9x13-inch baking dish. Repeat with the second 9x13-inch baking dish.

Place a little of the chicken mixture on each tortilla and roll up. Place filled tortillas in the baking dishes (about 12 filled corn tortillas in each baking dish or about 6-8 flour tortillas in each baking dish). Sprinkle with 1/4 pound shredded cheese and top with any remaining sauce, pouring evenly over all. (Freeze remaining tortillas for future green sauce enchiladas!)

Bake at 350 degrees F (175 degrees C) for 30 minutes.    

Serve with sour cream and chopped fresh cilantro, if desired.

Source:  Allrecipes.com submitted by smooch. You can find it here

Notes: These were just awesome. I loved them. They were so flavorful. However, they were also mild. Very kid friendly. The cumin and salt and pepper were not in the original recipe. I added it for just a little extra flavor.