
Happy Valentine's Day everyone! Yes, I'm still pregnant, but my husband is relieved that we didn't have a baby on Valentine's Day...especially since we already have a niece with a Valentine's Day birthday!
As you might know (since I created a chocolate hazelnut ice cream recipe which I posted last September), I'm a sucker for the combination of chocolate and hazelnut. So, when I ran across this recipe for a chocolate-covered-hazelnut-flavored-truffle-like concoction, I couldn't resist trying it. It turns out that they are fantastic! They are so rich...you won't be able to eat a ton, but you'll be glad you ate the ones you did. I was especially intrigued by this recipe because it called for prepared/canned chocolate frosting. It works (and tastes) great!
Also, I've already shared my sister-in-law's recipe for sugar cookies (aka cugar shookies due to my mom's initial mix-up of the name), but she made some more for Valentine's Day, so I thought I would share the recipe again...just in case you missed it. My mom is legendary for mixing up the names of things...especially in fast food drive-throughs. For instance, once she ordered an "Argy's roaf beast sandwich with fries to drink." Luckily the Arby's employee had a good sense of humor about it. His response? He said "I can give you fries, but I'm not sure you'll be able to drink them." Argy's roaf beast doesn't really roll off the tongue, but I think cugar shookies has a nice ring to it...so the name has stuck! It's one of the many things that helps set these sugar cookies apart from the rest of the crowd. These are the most melt-in-your mouth soft sugar cookies you'll ever come across.
I'm including another sugar cookie recipe that is slightly firmer. I don't like crunchy or hard sugar cookies. However, one fun way to decorate sugar cookies is to make Stained Glass or Window Sugar Cookies. These are especially cute for the holidays. I'll include some basic instructions following the second sugar cookie recipe for how to make stained glass/window sugar cookies. These stained glass window cookies would work a little better with a slightly firmer cookie than the Cugar Shookies recipe.
So, when you're in the mood for a few Valentine's Day treats, you can't go wrong with chocolate and classic frosting-covered sugar cookies.
Chocolate Nutella Hearts
Ingredients:
1 tub (16 oz) chocolate frosting
1 cup Nutella or other chocolate-hazelnut spread
2 1/4 cup powdered sugar
1/4 cup unsweetened cocoa powder
1 lb. chocolate-flavored candy coating
Sprinkles or other decorations, if desired
Directions:
Place the chocolate frosting and the Nutella in the bowl of a large stand mixer fitted with the paddle attachment. Mix on medium-low speed until combined.
Stop the mixer and add the powdered sugar and cocoa powder, then turn the mixer to low. Mix until the dry ingredients are completely incorporated, stopping periodically to scrape down the sides and bottom of the bowl, as needed.
After mixing, you should have a candy that is soft enough to shape, but firm enough to hold its body--similar in texture to Play-Doh. If it seems too soft, you can add additional powdered sugar, if it is too stiff, you can knead in an extra spoonful or two of Nutella.
If you don't have a small heart cookie cutter, you can form the hearts by hand, although this method is more time-consuming. If you do have a small cookie cutter, roll the candy out between two sheets of waxed paper until it is about 1/2 inch thick or a little thicker.
Use the cutter to cut out as many small hearts as you can fit. You can knead the candy scraps back together and roll it out again to cut more hearts.
Once you have your hearts cut out, melt the chocolate candy coating in a microwave-safe bowl, stirring after every 45 seconds to prevent overheating. STir until the coating is smooth and free of lumps.
Use a fork or dipping tools to dip a heart into the melted candy coating. Remove it from the coating and scrape the bottom against the lip of the bowl to remove excess coating. Place the dipped heart on a foil-covered baking sheet and repeat with remaining hearts and coating.
If desired, decorate with sprinkles while wet, or drizzle the hearts with white, pink, or red candy coating. Chocolate Nutella Hearts can be stored in an airtight container in the refrigerator or at cool room temperature for up to two weeks.
Source: About.com recipe created by Elizabeth LaBau.
Notes: I just used a hand mixer to incorporate all of the ingredients together. Towards the end, I had to knead it with my hands a little because it was thicker than the mixture could handle, but it worked fine. I doubled this...and I did NOT need to. It makes a lot. It's a really fun and easy recipe to make, but it's pretty time-consuming if you're doing it alone. At the end, I rolled the extra chocolate/Nutella mixture into little truffle-sized balls and rolled them in powdered sugar. This didn't really work out though. The Nutella makes these somewhat moist and as a result, it absorbed the powdered sugar by the next morning. They really do need to be dipped in chocolate (they are prettier and tastier that way--even though they do take a little longer to make).
I love Elizabeth LaBau's recipes on About.com (I also got the Halloween eyeball recipe that I posted in October from her too). Her recipes are written in a very detailed manner--so much so that often they tend to look a lot more difficult than they actually are. I like having all the details. It's great to read through and get all of her tips, but after that, just follow your instincts. It's not as hard as it looks!
Basically, the shortened version of this recipe could read as follows:
Blend together the frosting, Nutella, powdered sugar, and cocoa powder. Once you reach a consistency that is similar to Play-Doh, roll it out to about 1/2 inch thickness and cut out heart shapes with a small cookie cutter. Dip the hearts in melted chocolate-flavored candy coating. Place on a foil-covered baking sheet and allow it to set up. Decorate with additional sprinkles or drizzled candy coating, if desired.
Sugar Cookies aka Cugar Shookies
Ingredients:
1/2 c. butter
2 eggs
1 1/2 c. sugar
3 c. flour (you will need more flour)
2 tsp. baking powder
1 tsp. soda
1 tsp. salt
1 c. sour cream
1 tsp. vanilla
Directions:
Cream butter, eggs, and sugar. Combine rest of ingredients and mix well. Add extra flour until dough isn't too sticky, and chill for a couple of hours or overnight. Roll out and cut (they will be sticky so add more flour to roll them out). Bake 350 for 8-10 minutes.
Frosting:
Ingredients:
Powdered sugar
Butter
Milk
Vanilla, almond, or coconut flavoring
Directions:
Mix ingredients together in the proportions you desire to attain the consistency of frosting you prefer.
Source: My beautiful sister-in-law.
Karrie's Sugar Cookies
Ingredients:
2 cups sugar
2 cups butter or margarine, softened
6 eggs
2 tsp vanilla (or almond flavoring)
1 pinch salt
7 cups flour
3 tsp baking powder
Directions:
Cream sugar and butter. Add eggs and vanilla. Add flour mixed with baking powder and salt. Roll out the sugar cookie dough and cut out cookies.
Bake at 350 degrees for 8-10 minutes. Do not overbake (in fact, you don't even want these cookies to start to brown).
Sugar Cookie Glaze
Ingredients:
3 cups powdered sugar
1/4 cup warm water
1 tbsp light corn syrup
1/4 tsp flavoring (almond, orange, lemon, vanilla, etc.)
A couple drops of desired food coloring (if you want the frosting to be white, add a few drops of white food coloring. This makes the glaze opaque rather than transparent).
Directions:
Add corn syrup and extract to warm water in mixing bowl. Mix to dissolve syrup in warm water. Add sugar and food coloring.
Mix on low until you form a smooth glaze. Before putting it on the cookie, you want it warm. Store in a covered plastic container (no need to refrigerate).
Notes: This came from my Mom's friend, Karrie. When she gave the recipe to us, she called them "John's Sugar Cookies." I'm not sure who this John fellow is, but he makes a darn good sugar cookie!
Stained Glass/Window Sugar Cookies
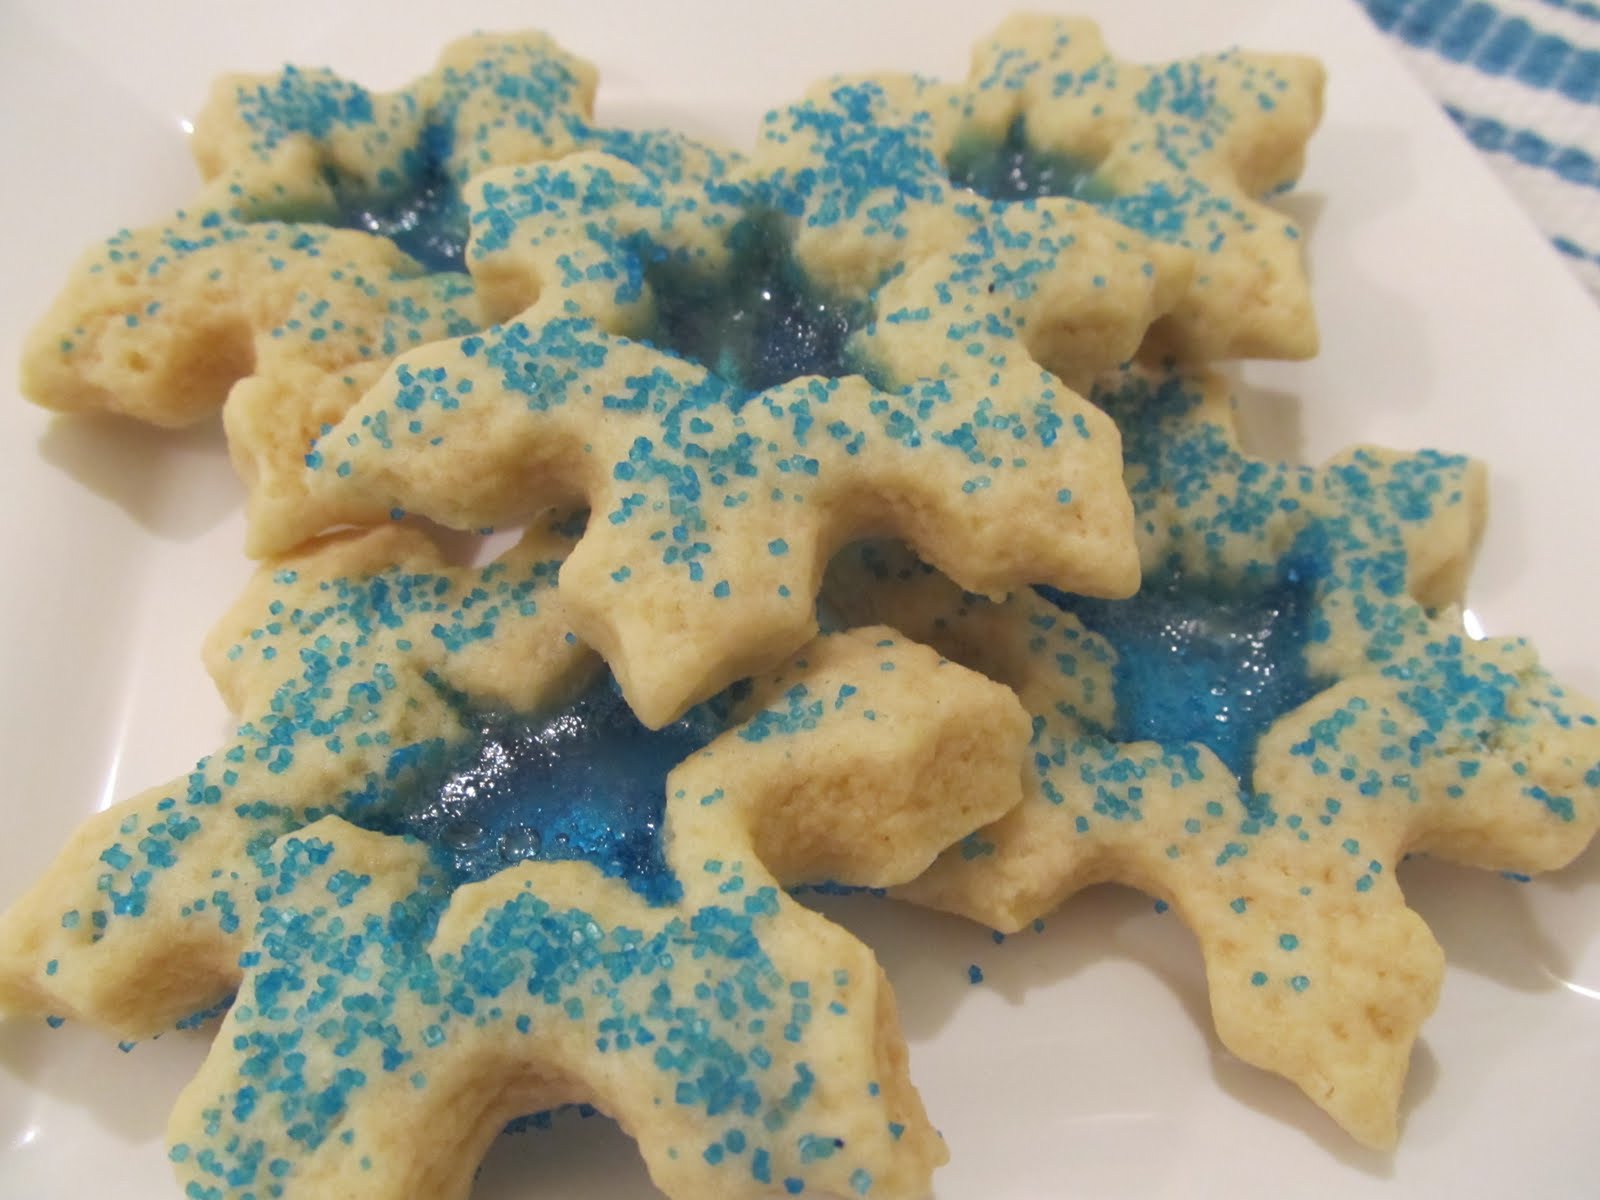
Using your favorite sugar cookie recipe, roll out the sugar cookie dough. Use a cookie cutter to cut out the sugar cookies. Using a smaller cookie cutter or a knife, cut out a "window" in the center of the cookie. Crush some hard candies (Jolly Ranchers work great)--keep the colors separate--and sprinkle some crushed hard candies in the "window" before you put the cookies in to bake. Sprinkling some colored sugar over the cookies in a matching color to your "window" also looks really cute. The hard candy will melt, and once the cookies are cooled, you will have a lovely stained glass "window" in the middle of your sugar cookie! You can then frost or decorate the cookie or just leave it plain. The window is sometimes enough of a decoration! I would say, however, that a somewhat firmer sugar cookie might work better when you are making stained glass cookies.
I finally just posted some pictures of these cookies, but you can find more pictures online. If you do a Google search for "stained glass cookies," you'll find a lot of examples. But, if you don't want to do that yourself and you would like more examples of what I'm trying to explain here, check this out. Also, click here, here, or here. Or, check here. Or, check this out. Or, here's a cute picture.
We've made some particularly cute stained glass window sugar cookies with a snowflake cookie cutter that we have. Get creative! These snowflake cookies use a different cookie cutter than my favorite snowflake cookie cutter, but you get the idea!

Sugar Cookie Glaze
Ingredients:
1 cup powdered sugar
1 tablespoon light corn syrup
2 tablespoons water
Food coloring, optional
Directions:
Stir confectioners' sugar, corn syrup, and water together. Stir in food coloring, if desired. Frost on cookies. Dries quickly.
Source: Allrecipes.com, submitted by cyndi. You can find it here.
Sugar Cookie Frosting
Ingredients:
4 cups confectioners' sugar
1/2 cup shortening
5 tablespoons milk (or more, if needed, to reach desired consistency)
1 tablespoon vanilla extract
Food coloring, if desired
Directions:
In a large bowl, cream together the confectioners' sugar and shortening until smooth. Gradually mix in the milk and vanilla with an electric mixer until smooth and stiff, about 6 minutes. Color with food coloring, if desired.
Source: Allrecipes.com, submitted by Kathy Brandt. You can find it here.
Notes: This is a great sugar cookie frosting (if you don't want to go with a sugar cookie glaze). I always find that I need more milk than called for in the recipe to make it more easily spreadable, however. Good stuff!
Yum! try as I might I can't hide from my sweet tooth. Especially when I'm pregnant! Those truffles sound delicious
ReplyDeleteThe truffles were really, really good! Kim's cugar shookies have to be tasted to be believed!
ReplyDeleteEmily let me sample a truffle last night and it was ahhh-mazing! (I'm her former roommate/friend). I love your guys' blog, it is such a wealth of recipes and cooking knowledge!
ReplyDelete