
My sister-in-law has a fantastic sugar cookie recipe, but you have to add in flour intuitively...and I kind of stink at that. So, I leave those sugar cookies to her and make these ones, which are also a fantastic recipe. These sugar cookies have never failed me! My mom got this recipe from her friend, Karrie. Hence the name! I hope you like them!

Karrie's Sugar Cookies
Ingredients:
2 cups sugar
2 cups butter
6 eggs
2 tsp. vanilla or almond flavoring
1 pinch salt
7 cups flour
3 tsp baking powder
Directions:
Cream sugar and butter. Add eggs and vanilla. Add flour mixed with baking powder and salt. Roll out the sugar cookie dough onto a well-floured surface and cut out cookies.
Bake at 350 degrees for 8-10 minutes. Do not over-bake. You don't even want these cookies to start to brown.
Frost with royal icing glaze or frost with smooth buttercream frosting.
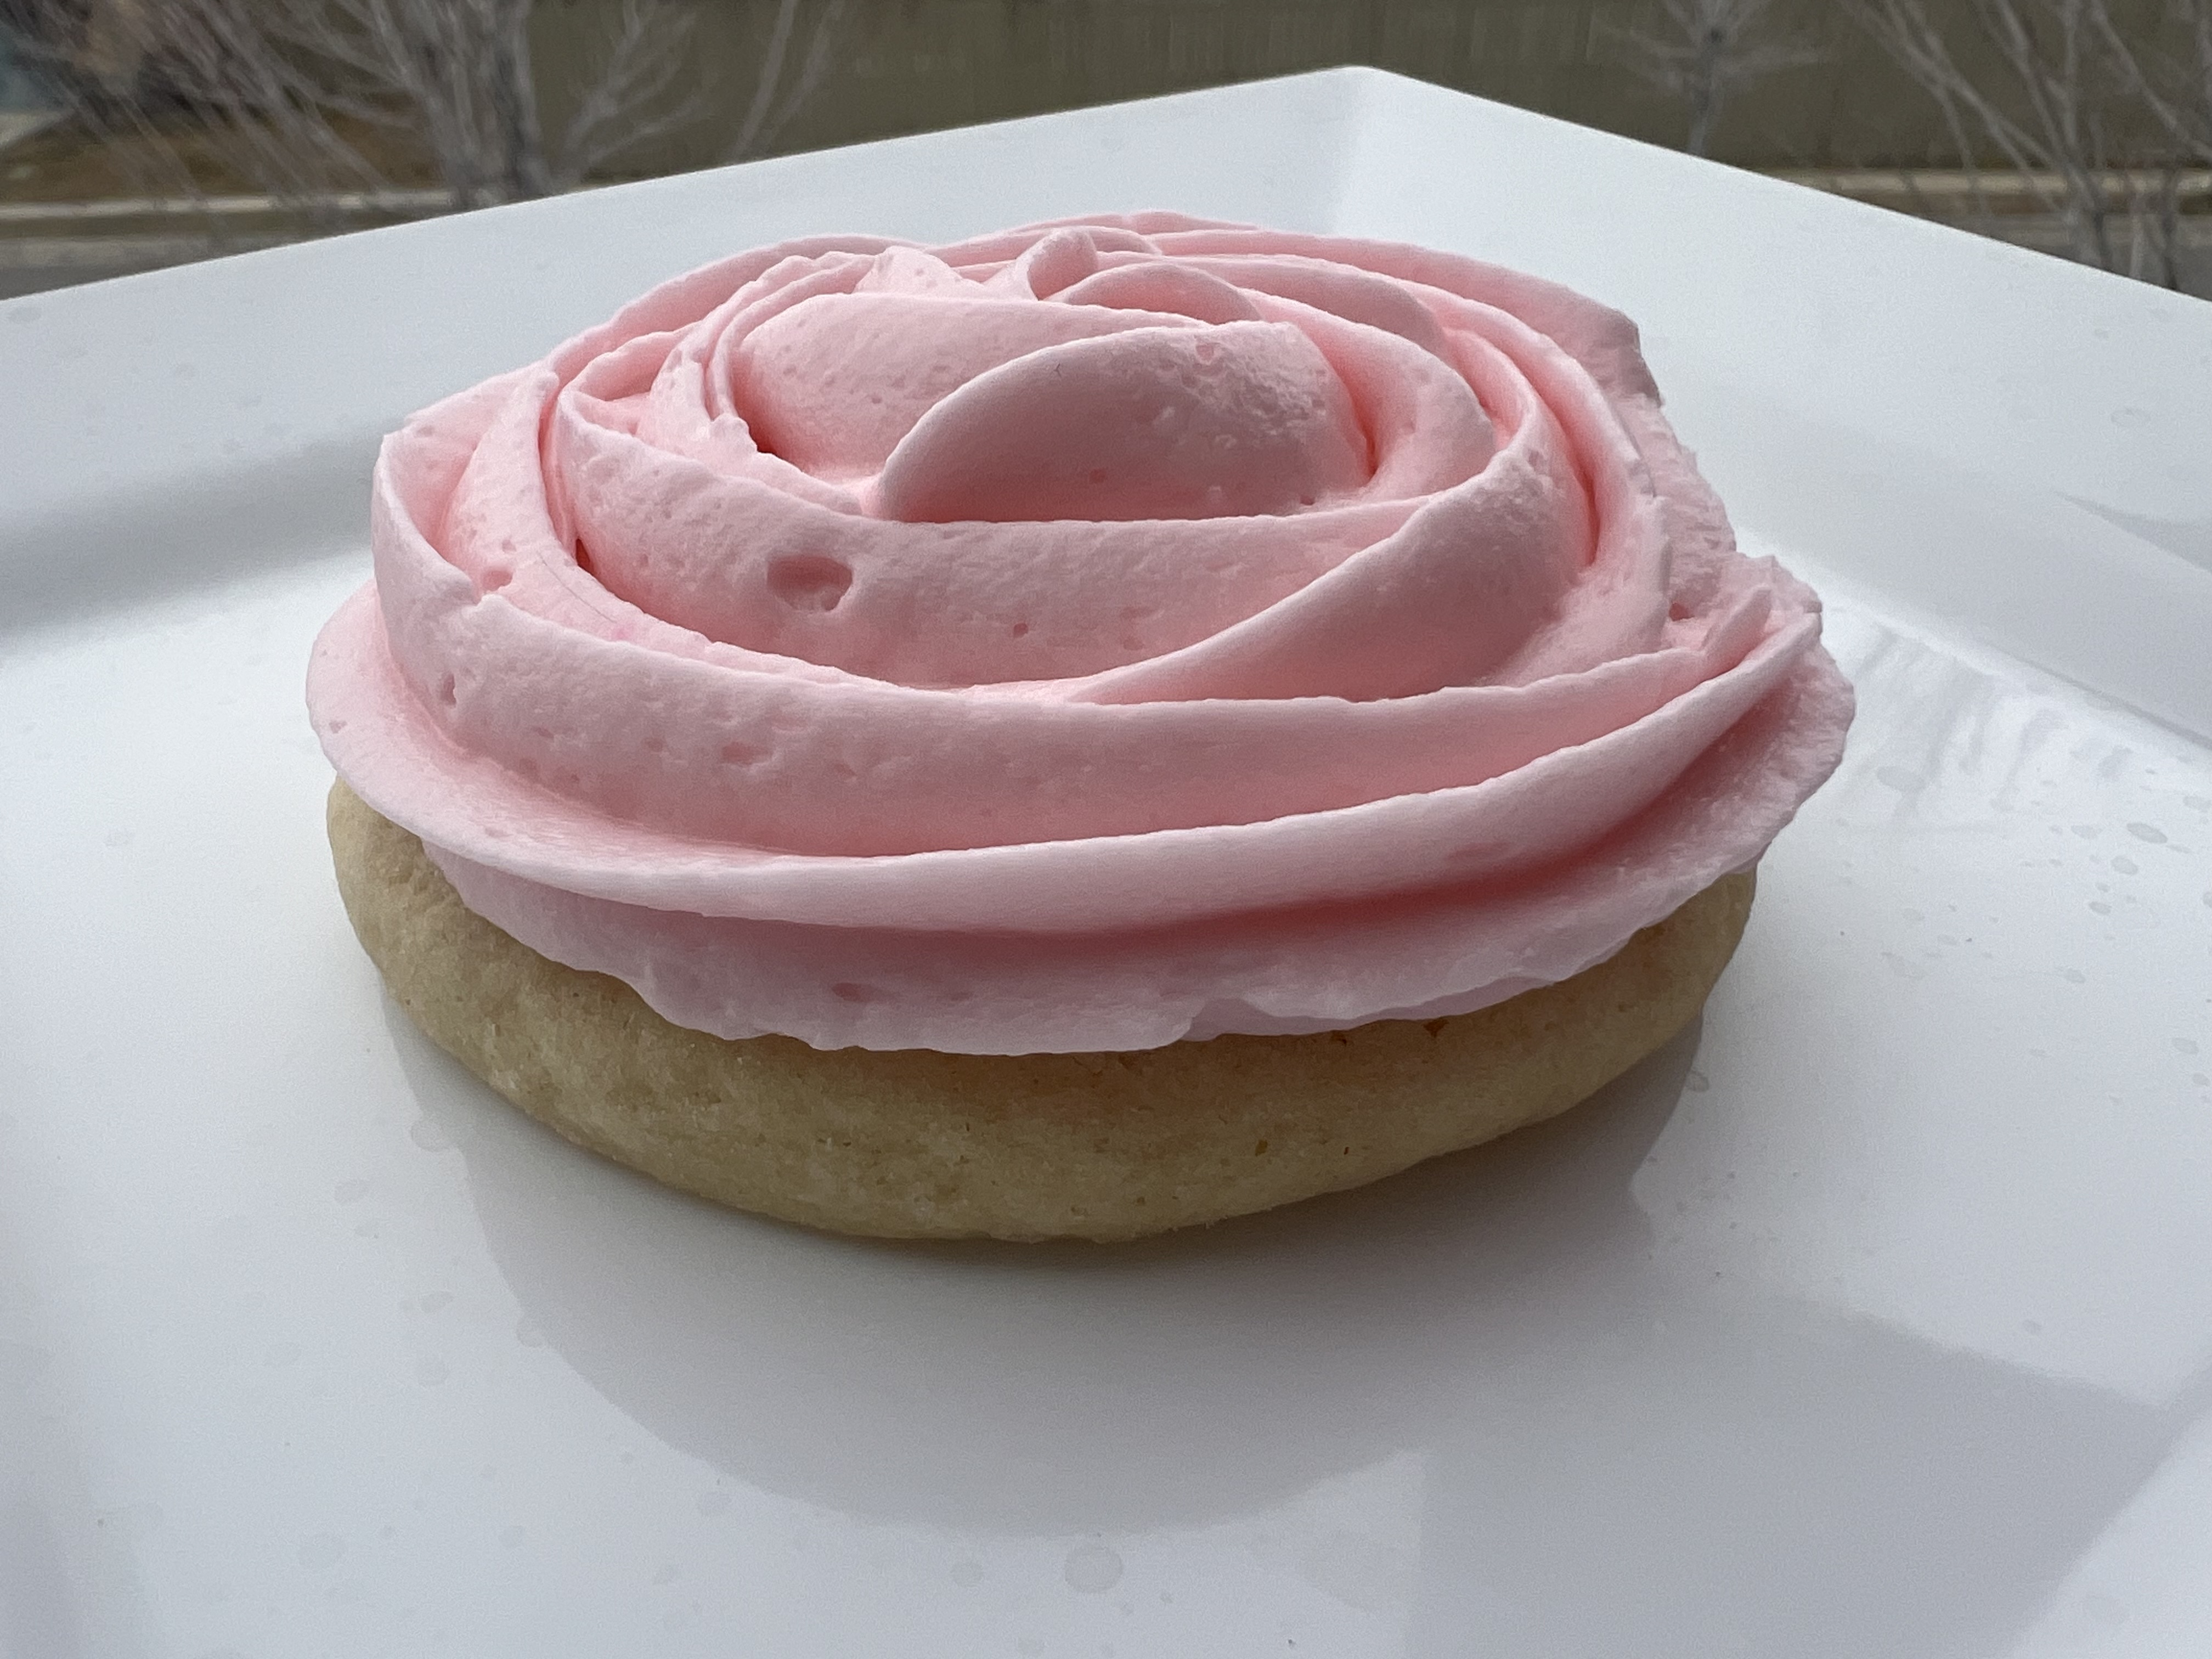
Smooth Buttercream Frosting
Ingredients:
1/2 cup butter, softened
1/2 cup vegetable shortening
1 1/2 teaspoons vanilla extract
5 cups confectioners sugar
3 tablespoons milk
Directions:
Mix butter and shortening together in a bowl until smooth. Mix in vanilla extract. Beat sugar, one cup at a time, into butter mixture, on medium speed. Add milk and beat on high speed until light and fluffy.
Refrigerate when not using.
Source: Allrecipes.com, submitted by morabam2011. You can find it here.
Royal Icing with Meringue Powder
Ingredients:
4 cups (about 1 lb.) powdered sugar (confectioners' sugar)
5 tablespoons warm water
3 tablespoons meringue powder
Beat all ingredients together until icing forms peaks, about 7-10 minutes at low speed with a heavy-duty mixer or 10-12 minutes at high speed with a hand-held mixer.
Check the consistency of your royal icing. If icing is too stiff, add more water, 1 teaspoon at a time, until desired consistency is achieved. If icing is too thin, add powdered sugar, a little at a time, until desired consistency is achieved.
For stiff consistency: Use 1 tablespoon less water. Stiff royal icing is preferred for making 3-D decorations. With stiffer royal icing, opt for larger piping tips to relieve the pressure on the piping bag.
Medium consistency for icing outlining: Add 1/8 teaspoons of water for every cup of stiff icing. Use a flat utensil like a small angled or straight silicone spatula, to mix icing in a figure-8 motion. Avoid beating or mixing vigorously.
Thin consistency for flooding: To thin for pouring, add 1 teaspoon water per cup of royal icing. Use a grease-free spoon or spatula to stir slowly. Add 1/2 teaspoon water at a time until you reach proper consistency. Use a flat utensil, like a small angled or straight silicone spatula, to mix in a figure 8-motion. Avoid beating or mixing vigorously.
- 10-second test: Take some icing on a spatula and drop it back down into the bowl to check for the correct thin consistency for flooding. If it sinks after a full count of 10, then the consistency is thin enough for flooding.
- Let icing sit for 15 minutes to an hour to let air bubbles rise naturally. Alternately, tap the bowl on the table several times to force the air bubbles up. Gently stir the top surface to release the air.
Notes:
- Use grease-free tools: Keep all icing utensils and bowls completely grease-free for proper icing consistency and to ensure the icing properly sets.
- Use meringue powder: Meringue powder is a must for this recipe. Do not substitute with raw egg whites (which can be a food safety issue) or dried egg whites; neither will produce the same results as meringue powder. If you plan to use egg whites, use a different recipe specifically meant to be made with egg whites.
- Don't overbeat: Do not overbeat the royal icing base. This will incorporate too much air, which will create bubbles. Vigorous stirring will also create air bubbles.
- Cover with a damp towel: Cover the decorating tip with a warm, damp towel to prevent the royal icing from drying when not using.
- To speed up the drying process: Royal icing can take up to 2 hours to dry. Place iced treats in front of a fan to speed up the icing's drying process.
- Storage: Store royal icing in an airtight container at room temperature for up to two weeks. Before reusing, re-whip using a paddle attachment on low speed until it's back to the correct consistency.
- Never store royal icing decorations in the freezer. Instead, keep decorations in an airtight container in a dry, dark place to prevent fading for up to 6 months.
No comments:
Post a Comment