Sunday, April 12, 2015

Easter Leftovers, Part 3


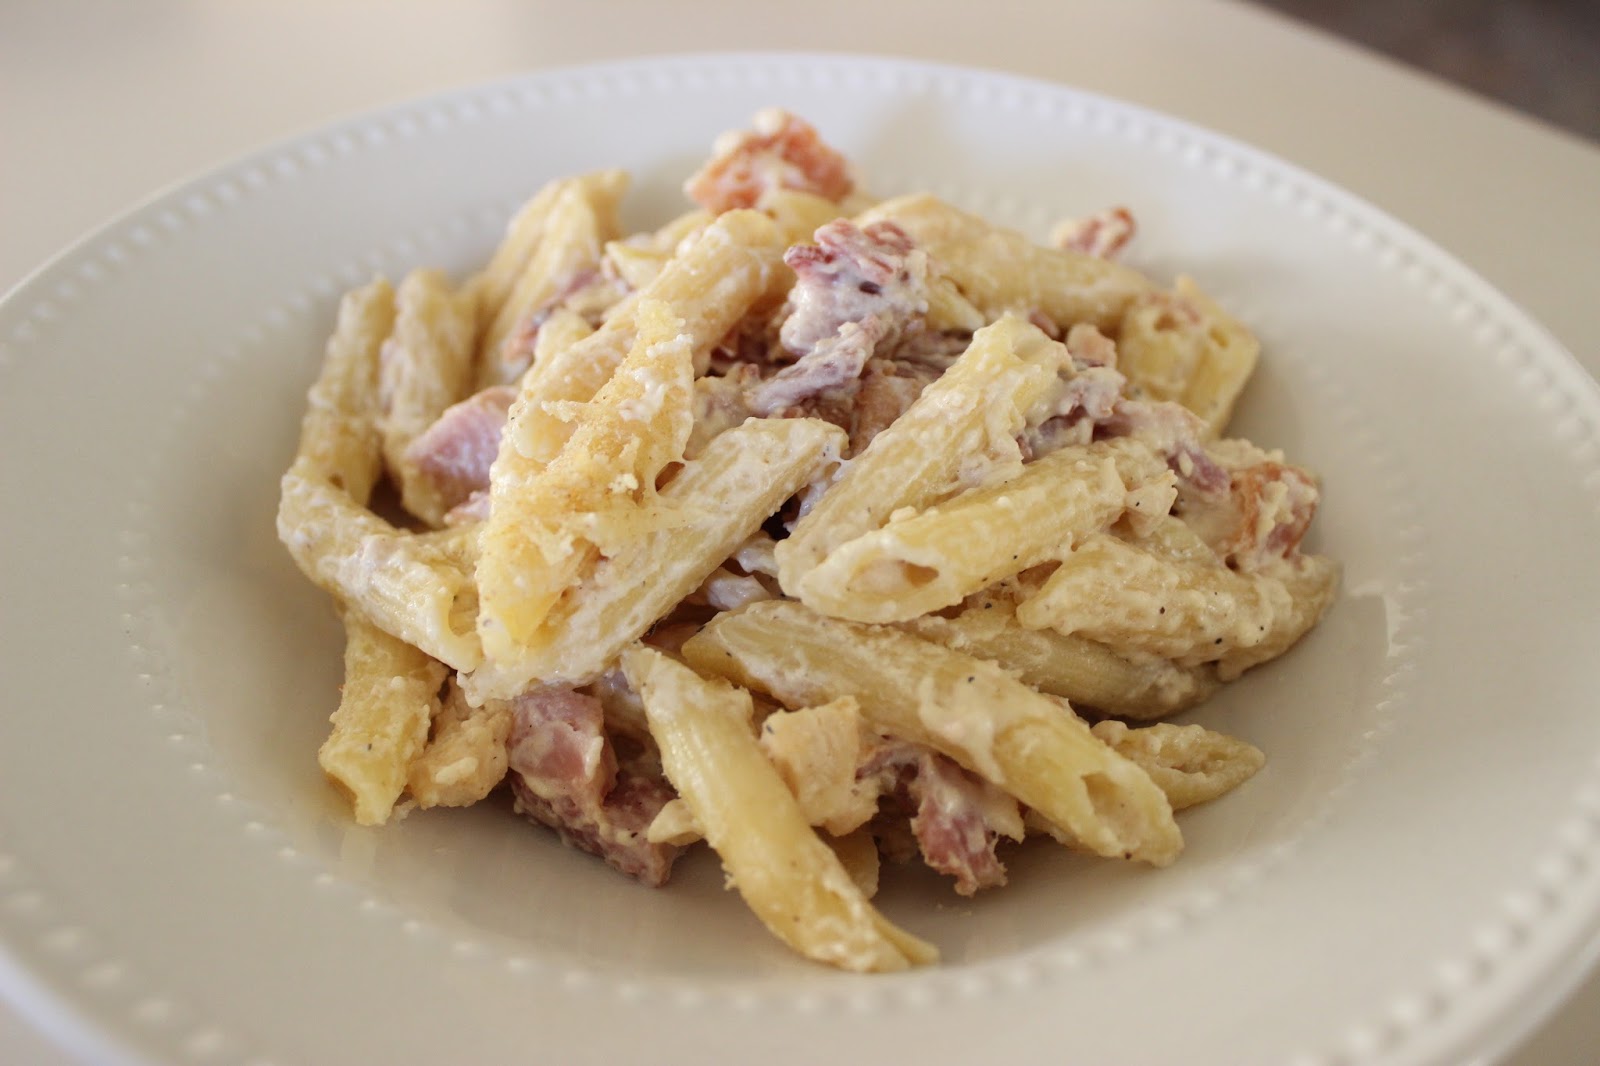
Here is the last recipe that I used my leftover Easter ham in this year. It was so amazingly good. Very quick and easy and very satisfying.


Pretty Penne Ham Skillet

Ingredients:

1 package (15 ounces) penne pasta
1/4 cup olive oil
3 tablespoons butter
3 cups cubed fully cooked ham
1 large sweet red pepper, finely chopped
1 medium onion, chopped
2 garlic cloves, minced
1/4 cup minced fresh parsley
1 1/2 teaspoons minced fresh basil or 1/2 teaspoon dried basil
1 1/2 teaspoons minced fresh oregano or 1/2 teaspoon dried oregano
1 can (14 1/2 ounces) chicken broth
1 tablespoon lemon juice
1/2 cup shredded Parmesan cheese

Directions:

Cook pasta according to package directions; drain. Meanwhile, in a large skillet, heat oil and butter ove medium-high heat. Add ham, red pepper and onion; cook and stir 4-6 minutes or until ham is browned and vegetables are tender. Add garlic and herbs; cook 1-2 minutes longer.

Stir in broth and lemon juice. Bring to a boil. Reduce heat; simmer, uncovered, 10-15 minutes or until liquid is reduced by half. Add pasta; toss to combine. Sprinkle with cheese.

Yield: 6 servings.

Source: Taste of Home. You can find it here.


Notes: I used 2 red bell peppers instead of one, but that is really the only change I made. This was so good and the leftovers were fantastic.

Easter Leftovers, Part 2


Here is another recipe I found to help me use up my leftover Easter ham. I have since made it twice (first, as originally written, and second, slightly lightened up). Be sure to read my notes to see what I changed to create a lighter version.


Chicken Cordon Bleu Pasta Recipe

Ingredients:

3 cups uncooked penne pasta
2 cups heavy whipping cream
1 package (8 ounces) cream cheese, softened and cubed
1 1/2 cups (6 ounces) shredded Swiss cheese, divided
1/2 teaspoon onion powder
1/2 teaspoon garlic salt
1/4 teaspoon pepper
3 cups sliced cooked chicken breast
3/4 cup crumbled cooked bacon
3/4 cup cubed fully cooked ham
3 tablespoons dry bread crumbs

Directions:

Preheat oven to 350 degrees F. Cook pasta according to package directions for al dente; drain.

Meanwhile, in a large saucepan, heat cream and cream cheese over medium heat until smooth, stirring occasionally. Stir in 1 cup Swiss cheese, onion powder, garlic salt, and pepper until blended.

In a large bowl, combine chicken, bacon, ham, and pasta. Add sauce; toss to coat. Transfer to a greased 13x9-in. baking dish. Sprinkle with remaining cheese; top with bread crumbs. Bake, uncovered, 18-22 minutes or until heated through.

Yield: 6 servings.

Nutrition information: 1 1/2 cups equals 826 calories, 56 g fat, 249 mg cholesterol, 1,093 mg sodium, 33 g carbohydrate, 1 g fiber, 47 g protein.

Source: Taste of Home. You can find it here.


Notes: This was really good. Baking it takes away a bit of the creaminess, however. It is fantastic baked, but if you want a really creamy pasta, I would suggest skipping the baking process and just serving it after tossing the chicken, bacon, ham, pasta, and sauce together. I've tasted it both ways and can tell you that it is great baked and unbaked.

My lightened version: To lighten this recipe, I substituted two 12 oz cans of evaporated milk for the cream. I also substituted Neufschatel cheese for the cream cheese. Honestly, it tasted almost exactly the same.

The only other change I made was that I added a lot more pepper. I would suggest adding the onion powder, garlic salt, and pepper to your taste.

This is also freezer friendly. Once you toss the chicken, bacon, ham, pasta, and sauce together, then top with cheese and bread crumbs and put in an aluminum baking pan, cover with foil, and place in the freezer. When you are ready to eat it, thaw it in the refrigerator overnight and bake as directed. If you would like to bake it from frozen, keep it covered and bake until thawed. Remove foil and continue baking until hot and bubbling and cheese on top is melted.

Easter Leftovers, Part 1


I only buy a big ham about once a year at Easter. I love the leftovers and look forward to finding new recipes with ham in them to use up the ham that we can't eat plain. I found some good recipes this year (and some that I can't wait to try next year when I have more ham!). Here's the first of the bunch.


Ham 'n' Cheese Strata

Ingredients:

12 slices white bread, crusts removed
1 pound fully cooked ham, diced
2 cups (8 ounces) shredded cheddar cheese
6 eggs
3 cups milk
2 teaspoons Worcestershire sauce
1 teaspoon ground mustard
1/2 teaspoon salt
1/4 teaspoon pepper
Dash cayenne pepper
1/4 cup finely chopped onion
1/4 cup finely chopped green pepper
1/4 cup butter, melted
1 cup crushed cornflakes

Directions:

Arrange six slices of bread in the bottom of a greased 13-in. x 9-in. baking dish. Top with ham and cheese. Cover with remaining bread.

In a bowl, beat eggs, milk, Worcestershire sauce, mustard, salt, pepper, and cayenne. Stir in onion and green pepper; pour over all. Cover and refrigerate overnight.

Remove from the refrigerator 30 minutes before baking. Pour butter over bread; sprinkle with cornflakes. Bake, uncovered, at 350 degrees F for 50-60 minutes or until a knife inserted near the center comes out clean. Let stand 10 minutes before serving.

Yield: 8-10 servings.

Nutrition information: 1 serving equals 375 calories, 19 g fat, 197 mg cholesterol, 1,081 mg sodium, 28 g carbohydrate, 1 g fiber, 23 g protein.

Source: Taste of Home. You can find it here.

Notes: This was really good. Plus, it was nice to throw it together the night before and then just pop it in the oven the next day.

Sunday, April 5, 2015

Easter Feast


Here are a few tasty discoveries we made this Easter. Delicious stuff!


Honey Glazed Ham

Ingredients:

1 (5 pound) ready-to-eat ham
1/4 cup whole cloves
1/4 cup dark corn syrup
2 cups honey
2/3 cup butter

Directions:

Preheat oven to 325 degrees F.

Score ham, and stud with the whole cloves. Place ham in foil lined pan.

In the top half of a double boiler, heat the corn syrup, honey, and butter. Keep glaze warm while baking ham.

Brush glaze over ham, and bake for 1 hour and 15 minutes in the preheated oven. Baste ham every 10 to 15 minutes with the honey glaze. During the last 4 to 5 minutes of baking, turn on broiler to caramelize the glaze. Remove from oven, and let sit a few minutes before serving.

Source: Allrecipes.com, submitted by Colleen. You can find it here.

Notes: We bought a spiral sliced ham and used that instead of scoring our ham. Then we served it with three different ham glazes for everyone to use as dipping sauces instead.


Easy Peach-Jalapeno Ham Glaze

Ingredients:

1/2 cup peach jam
2 tablespoons finely chopped jalapeno chiles

Directions:

In small bowl, stir together jam and jalapeno chiles. Brush over ham the last 45 minutes of baking.

Source: Betty Crocker. You can find it here.

Notes: As mentioned above in the notes for the ham recipe, we didn't use this as a glaze. Rather, we used it as a dipping sauce for the ham. It was very tasty!


Easy Blueberry-Chipotle Glaze

Ingredients:

1/3 cup blueberry preserves
2 tablespoons finely chopped chipotle chiles in adobo sauce (from 7-oz can)
2 tablespoons packed dark brown sugar

Directions:

In small bowl, mix all ingredients with whisk until well blended.

Brush glaze over ham during last 45 minutes of baking.

Source: Betty Crocker. You can find it here.

Notes: Ditto in the notes above. We didn't use this as a glaze. We used it as a dipping sauce and it was fantastic!


Easy Cherry-Lime-Ginger Ham Glaze

Ingredients:

1/2 cup cherry jam
2 tablespoons packed brown sugar
1 teaspoon grated lime peel
1 tablespoon lime juice
1/2 teaspoon ground ginger

Directions:

In small bowl, beat all ingredients with whisk. Brush over ham the last 45 minutes of baking.

Source: Betty Crocker. You can find it here.

Notes: Again, we didn't use this as a glaze this time around, we used it as a dipping sauce for our ham. Super delicious!


Bacon Cheddar Deviled Eggs

Ingredients:

12 eggs
1/2 cup mayonnaise
4 slices bacon
2 tablespoons finely shredded Cheddar cheese
1 tablespoon mustard

Directions:

Place eggs in a saucepan, and cover with cold water. Bring water to a boil and immediately remove from heat. Cover, and let eggs stand in hot water for 10 to 12 minutes. Remove from hot water, and cool. To cool more quickly, rinse eggs under cold running water.

Meanwhile, place bacon in a large, deep skillet. Cook over medium-high heat until evenly brown. Alternatively, wrap bacon in paper towels and cook in the microwave for about 1 minute per slice. Crumble and set aside.

Peel the hard-cooked eggs, and cut in half lengthwise. Remove yolks to a small bowl. Mash egg yolks with mayonnaise, crumbled bacon, and cheese. Stir in mustard. Fill egg white halves with the yolk mixture and refrigerate until ready to serve.

Source: Allrecipes.com, submitted by USEREMILY3260. You can find it here.

Notes: Holy cow, bacon just makes everything better, doesn't it? These were fantastic.


Peeps Easter Garden Cake

Ingredients:

1 box Betty Crocker SuperMoist devil's food cake mix
Water, oil, and eggs as called for on package
1 container Betty Crocker Rich & Creamy chocolate frosting
1 cup chocolate cookie crumbs
1 can (6.4 ounces) Betty Crocker green decorating cake icing
8-12 Peeps marshmallow bunnies
1 can (6.5 ounces) Betty Crocker orange decorating cake icing

Directions:

Preheat oven to 350 degrees. Spray a 9x13-inch pan with cooking spray. Make cake as directed on box. Cool the cake in the pan on cooling rack until completely cooled, 30-60 minutes.

Spread chocolate frosting on top of cake. Sprinkle frosting with chocolate cookie crumbs. Use green icing to make garden rows. 

Insert a toothpick halfway into the base of each Peeps marshmallow bunny. Insert the bunnies, tootpick side down, into the cake.

Use the orange and green icing to make carrots on the cake.

Source: Betty Crocker. You can find it here.

Notes: This was so cute and the kids loved it. We also added some Cadbury chocolate eggs so that the Peeps Easter bunnies could have an Easter egg hunt in the garden as well.

Tuesday, March 17, 2015

St. Patrick's Day Leftovers


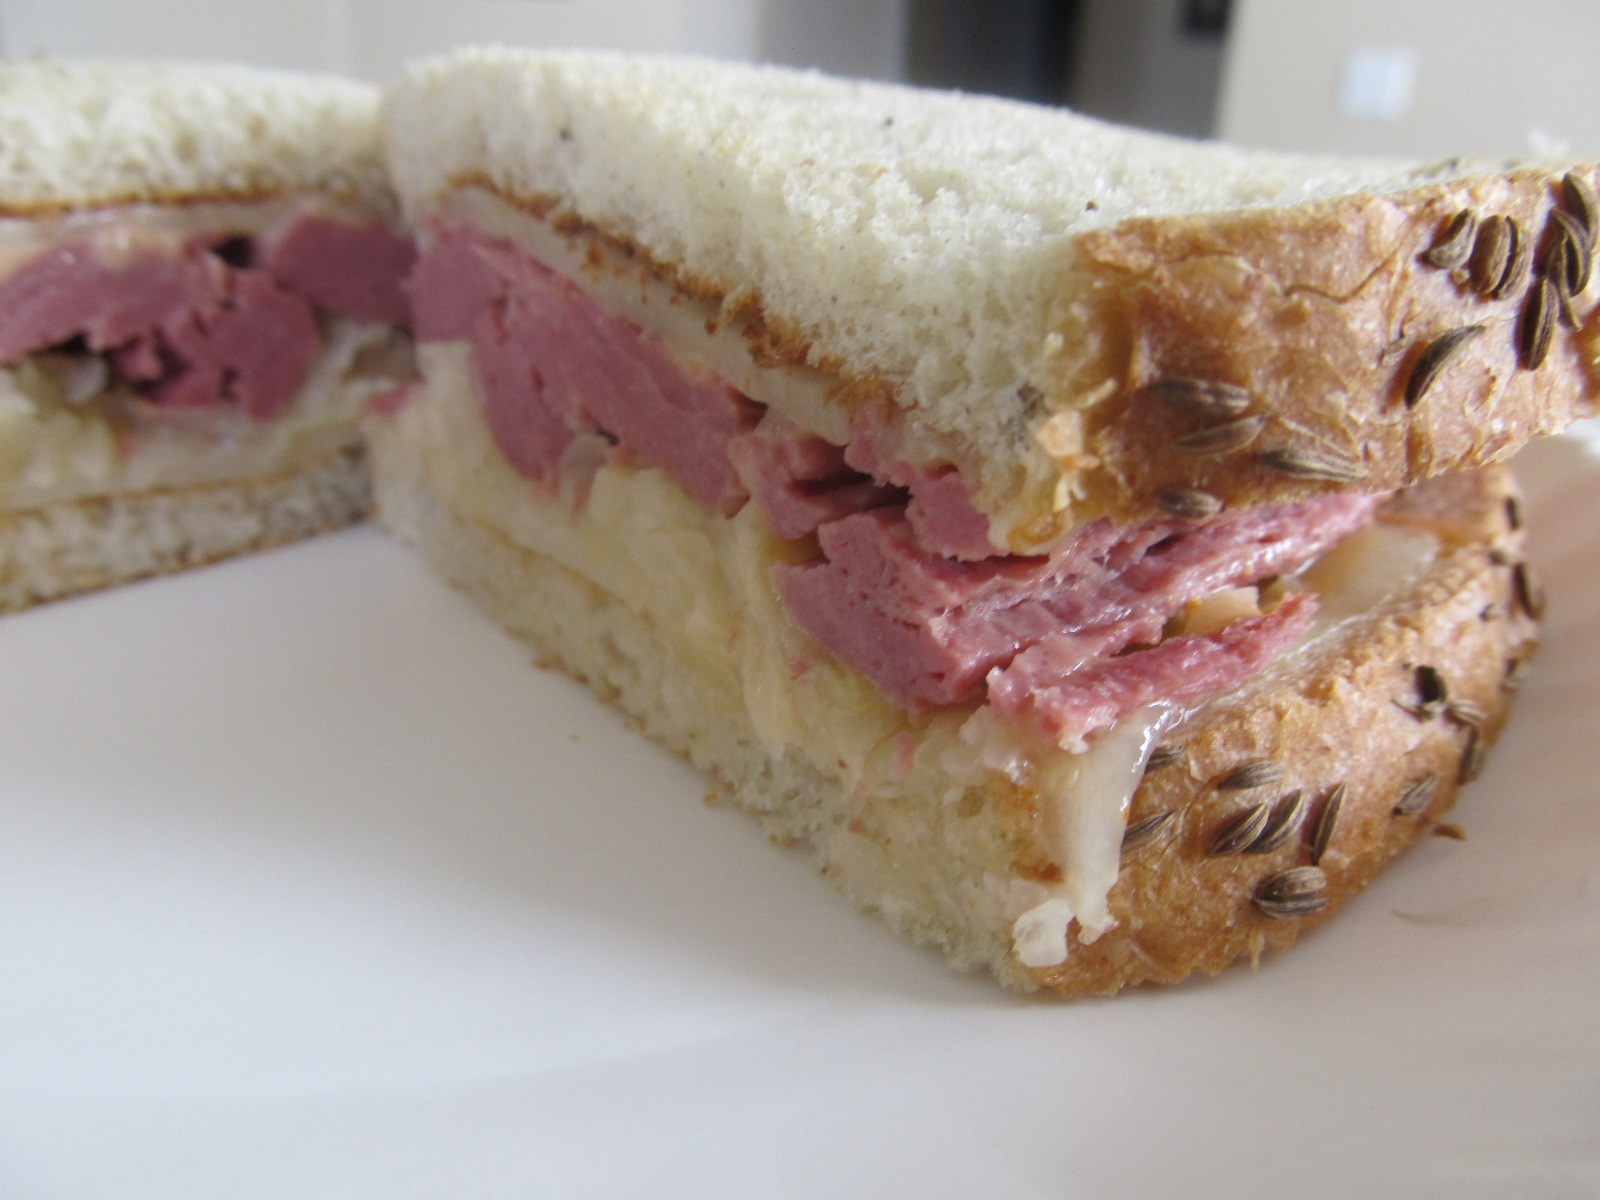
I made extra corned beef this year so that we could have Reuben sandwiches. I usually use deli corned beef, or pastrami (which I actually prefer over deli corned beef). However, using leftover corned beef made for such fantastic Reuben sandwiches.

I usually broil my sandwiches, but this time I opted for a shortcut and used the microwave. I don't think it would have worked as well with deli meat, but with the leftover corned beef, it totally worked.


Reuben Sandwiches

Ingredients:

Sliced rye bread
Sliced Swiss cheese
Thousand island dressing
Sauerkraut, drained
Corned beef

Directions:

Toast the slices of rye bread. Place the slices of rye bread on a microwave safe plate.

Top the toasted rye bread with Swiss cheese (one slice per piece of bread, or half a slice of Swiss cheese per piece of bread if you want a lighter sandwich). Spread the Swiss cheese with desired amount of thousand island dressing.

Heat the corned beef in the microwave.

Place desired amount of sauerkraut on one slice of rye. Place desired amount of corned beef on the other slice of rye. Carefully put the two halves of the sandwich together. Slice sandwich in half and serve.

Source: Reuben sandwiches have been around for about 100 years, but the origin isn't really known. It either came from Omaha, Nebraska or from New York City. Read about it here and then decide for yourself.

Notes: These were so good and so easy. It made for a perfect and easy dinner to follow after the more time consuming St. Patrick's Day dinner that we had.

St. Patrick's Day Find


I usually make this Irish soda bread, but I found this recipe and just had to try it. Now I will have to make both kinds of Irish soda bread each year!


Easy Irish Soda Bread

Ingredients:

3 1/2 cups all-purpose flour
1/2 cup sugar
2 tablespoons caraway seeds
2 teaspoons baking powder
1 teaspoon salt
1/2 teaspoon baking soda
2 eggs
2 cups (16 ounces) sour cream
3/4 cup raisins

Directions:

In a large bowl, combine the flour, sugar, caraway seeds, baking powder, salt, and baking soda. In a small bowl, whisk eggs and sour cream. Stir into dry ingredients just until moistened. Fold in raisins.

Spoon into a greased 9-in. springform pan. Bake at 350 degrees F for 40-45 minutes or until a toothpick inserted near the center comes out clean. Cool on a wire rack for 10 minutes before removing sides of pan. Cut into wedges; serve warm.

Yield: 1 loaf (12 wedges)

Source: Taste of Home. You can find it here.

Notes: If you only cut this into 12 wedges, they are very generous in size. I think you can get a lot more than 12 wedges out of this. This was just so good. Moist, flavorful, and so easy to make.

Monday, March 16, 2015

St. Patrick's Day Treats for the Kids


I loved these cookies while growing up. In hindsight, they aren't anything special when it comes to taste...but they always bring back good memories and kids love them.

These cookies are much easier than the length of my instructions would lead you to think. There are just a lot of steps that get repeated. Just read through the instructions and give it a go!

Rainbow Cookies

Ingredients:

1 roll refrigerated sugar cookie dough
Red, yellow, green, and blue food dye (you can use additional colors, if you like)

Directions:

Divide the dough into four portions, ranging in size from small to large.


Above: You can do more colors than just red, yellow, green, and blue. If you do, divide them up better than I did! Red should be the biggest, and each ball of cookie dough should get smaller in size as you go. I didn't do such a great job of that here...oh well, practice makes perfect. Next time, I will get it right!

Knead blue food dye into the smallest portion of cookie dough. Wrap in plastic wrap and place in the refrigerator until ready to use.

Knead green food dye into the second smallest portion of cookie dough. Wrap in plastic wrap and place in the refrigerator until ready to use.

Knead yellow food dye into the second largest portion of cookie dough. Wrap in plastic wrap and place in the refrigerator until ready to use.

Knead red food dye into the largest portion of cookie dough. Wrap in plastic wrap until ready to use.

Rainbow Cookie Option 1:


Pull blue cookie dough out of the refrigerator and shape into a snake-like shape on a piece of waxed paper.

Pull green cookie dough out of the refrigerator. Roll out and then place the blue cookie dough on top of the green cookie dough and roll the green cookie dough over the blue to cover the blue completely.

Pull the yellow cookie dough out of the refrigerator. Roll out and then place the green log of cookie dough on top of the yellow cookie dough and roll the yellow cookie dough over the green to cover the green completely.


Pull the red cookie dough out of the refrigerator. Roll out and then place the yellow log of cookie dough on top of the red cookie dough and roll the red cookie dough over the yellow to cover the yellow completely.

Wrap log of cookie dough in plastic wrap and place in the refrigerator for 30-60 minutes, or until cold and firm.

Remove log of cookie dough out of refrigerator. Unwrap and slice into 1/4 inch rounds. Place sugar cookie circles on cookie sheet and bake according to sugar cookie package directions.

Rainbow Cookie Option 2:


Pull blue cookie dough out of the refrigerator and shape into a snake-like shape on a piece of waxed paper.

Pull green cookie dough out of the refrigerator. Roll out and then place it over the blue cookie dough (not enclosing the blue completely--so that it is like a cylinder cut in half).

Pull the yellow cookie dough out of the refrigerator. Roll out and then place over the green cookie dough (again, not enclosing completely).

Pull the red cookie dough out of the refrigerator. Roll out and then place over the yellow cookie dough (again, not enclosing completely).

Wrap log of cookie dough in plastic wrap and place in the refrigerator for 30-60 minutes, or until cold and firm.

Remove log of cookie dough out of refrigerator. Unwrap and slice into 1/4 inch slices. Place sugar cookie half-circle slices on cookie sheet and bake according to sugar cookie package directions.


Source: I believe my mom found this in a little Pillsbury cookbook years ago.

Notes: I suggest cooking these for less time in order to keep the sugar cookies soft. If the package calls for 8-10 minutes of bake time, bake them for 7 or 8 minutes. They might seem underdone when you pull them out of the oven, but after they cool, they will be nice and soft. If you cook them for 10 minutes, they will be crunchy, crispy cookies after they cool.

If you end up with crunchy cookies, you can always put a little softened vanilla ice cream on the cookie, top it with another cookie, wrap it up and freeze it and then serve it as an ice cream sandwich instead. The ice cream will soften the cookie and make it chewy and it makes for some really tasty ice cream sandwiches. See here.

Another preparation option is that you can do cookie option #1 and slice the whole log in half lengthwise and then slice both halves into 1/4 inch cookie slices. It's up to you.

You can do more colors (and add orange and purple layers, for instance, for a complete ROYGBIV rainbow). However, if you opt to use more colors, I would suggest using two rolls of refrigerated sugar cookie dough instead of just one roll. It will be easier to divide the dough into all the colors that way. Yes, you will end up with more cookies (and a longer log of cookie dough to deal with), but if your kids can't eat them, they freeze well, and you can have them another time.

These cookies aren't really an exact science and it is hard to get them to turn out perfectly, but honestly, the kids won't care. They will think they are fun and tasty even if they look a little crazy (as mine do!).