Showing posts with label Chocolate. Show all posts

Friday, December 25, 2020

Hot Cocoa Bombs


I think everybody either made or tried hot cocoa bombs this season. It was the "it" holiday sweet. First of all, I apologize for the length of this post. Once you get the hang of these, they aren't too bad to make at all. However, there is a bit of a learning curve to them. But practice makes perfect! Also, even if they aren't perfect, they will still taste fantastic.

I researched a lot of videos on YouTube before attempting these. Speaking of, I made my own video (my first ever for this blog!) because you really have to see how it is done to truly understand how to do it. Watch this 5 minute video (the link is for those viewing the mobile version, or if you are viewing the web version, you can click on the same video below, which for some reason, won't even appear on the mobile version), and then we can talk about what I learned through this process.


One of the videos I first researched insisted that tempered chocolate was a must because it was far superior taste-wise than using melting wafers.

So, I then studied up on tempering chocolate and even bought a spatula with a built in thermometer (you can find that here). I tried the microwave tempering method (where you keep the chocolate under a certain temperature so that it never becomes untempered), and I am not sure if my thermometer wasn't reading the temperature correctly or what, but my chocolate apparently became too hot (even though my thermometer said I was still okay) and therefore my chocolate became untempered. I know this, because it never regained that snap sound that tempered chocolate makes once it hardens again, it was dull rather than shiny, and it was a little soft.

So, then I did the stove top method to temper my chocolate...and it worked! I had beautifully tempered dark chocolate...and as soon as I tried to remove it from the mold, it cracked and shattered (that beautiful snapping sound that proves that you have correctly tempered your chocolate was totally there. Ha ha). Perhaps if I had done a thicker layer of chocolate or a second layer of chocolate, it would have been strong enough to remove from the mold without breaking. I guess I won't know for now, because at that point, I went to plan B (using melting wafers).

In my research, I learned that tempering milk and white chocolate is even harder than tempering semi-sweet or dark chocolate (because the temperatures that you temper at are different. They are lower temperatures than with dark chocolate).

I learned that chocolate melting wafers aren't really considered true chocolate because they don't contain cocoa butter. Candy melts or melting wafers contain added oils to help the chocolate solidify and hold its shape.

I also learned that chocolate chips can't be tempered. They don't have cocoa butter and they are too soft for tempering. In order to temper chocolate, you have to start with tempered chocolate. Tempered chocolate contains cocoa butter. For instance, a chocolate bar that snaps when you break off a square and contains cocoa butter is tempered. A chocolate chip never really snaps. It is soft, even when it holds its shape. A chocolate chip's composition is specifically made the way it is so that they can be soft and chewy at room temperature so you have a soft and chewy chocolate chip cookie instead of a cookie with a chocolate crunch. Tempered chocolates have that snap, shine, solidity, and the ability to hold its shape at room temperature.

You can add vegetable oil to chocolate chips to help it hold its shape at room temperature better, but then that makes them very similar to melting wafers anyway.

So, here's what I learned through a lot of trial and error:

For this particular recipe, tempering is not for me. It might be for you, but it is not for me! I am too much of a chocolate amateur. It just makes this recipe more time consuming and difficult. 

If tempering is for you, and you are a skilled chocolatier, feel free to buy high quality tempered chocolate, chop it up, melt it down, make sure it is tempered again and make your beautiful pure chocolate cocoa bombs.

I, however, wanted something that would not only be delicious, but also faster and easier for me, personally, to assemble and produce on a larger scale.

Straight chocolate chips taste amazing in this recipe, though they melt easily. So, they are hard to handle when you are forming the balls because they will melt in your hands as you are touching them. You can hide a lot of flaws with drizzled chocolate and toppings though. Also, they will retain their shape best if stored in the refrigerator. 

As mentioned above, if you add a little shortening (2 tablespoons shortening for every 2 cups of chocolate chips), you can make your own version of chocolate candy coating that will work better for these cocoa bombs and can be stored at room temperature, rather than in the fridge.

It is easier to make these hot cocoa bombs with bare hands rather than while wearing gloves. You kind of need your bare skin to handle the chocolate. The gloves make things too slippery.

Chocolate chips with or without shortening taste great in this recipe.

Candy melts or melting wafers also taste great in this recipe.

When I made mine, I used melting wafers, straight chocolate chips, and chocolate chips with shortening. I thought all of them were delicious, so I suggest you use what you are most comfortable with.

Finally, you will need a medium size silicone mold. There are bigger ones, but they are way too big for your standard size mug. You can find the one I used here.


Hot Cocoa Bombs

Ingredients:

2 cups chocolate chips or melting wafers
2 tbsp shortening (only if using chocolate chips)
1 scoop hot cocoa (any flavor) per bomb
1 scoop mini vanilla dehydrated marshmallows per bomb
Sprinkles, crushed candy, crushed cookies, etc. for decorative topping, if desired
1 cup steaming hot milk (any kind) per bomb, for serving

Directions:

Melt chocolate chips or melting wafers in a microwave safe container at 30 second intervals, stirring between each, until completely smooth.

Add a spoonful of melted chocolate to each mold indentation. Using the back of the spoon, spread chocolate evenly over each indentation.

Place mold in the freezer for 5 minutes, or until completely set.

Once set, carefully remove the chocolate from the molds.

Gather your hot cocoa and mini marshmallows for easy assembly.

Place a microwave safe glass dish in the microwave. Microwave for 1-2 minutes or until hot.

Carefully place warm dish next to the chocolate shells. Place one shell half, seam side down, on the warm plate to clean up and slightly melt the edges.

Fill that shell half with a scoop of hot cocoa. Top that with a scoop of mini marshmallows.

Place second shell half, seam side down, on the warm plate to clean up and slightly melt the edges.

Carefully place the two shells together, smoothing the seam with your finger and using additional melted chocolate to help seal it together, if necessary.

Repeat until you run out of chocolate and/or you have the desired amount of cocoa bombs.

Let the bombs sit until completely set. 

Using a squeeze bottle or spoon, drizzle completed bombs with additional melted chocolate that has cooled slightly. You don't want to use chocolate that is too hot or it will melt a hole right through your bomb and ruin all of your hard work! (Yes, I am speaking from experience. RIP cocoa bomb that got drizzled with chocolate that was too hot) 

Immediately top with sprinkles, crushed candies, or crushed cookies, if using. If you wait too long, the chocolate drizzle will set and the toppings won't stick to it.

When ready to serve, you can explode your cocoa bomb one of two ways. You can place a cocoa bomb in the bottom of a mug and slowly pour 1 cup of steaming hot milk on top. Or, you can prepare a mug of steaming hot milk and gently place the bomb into your mug of milk.

Source: Holy cow, this is everywhere. All you have to do is Google it to find videos and/or recipe links all over the place. For me, it started when my sister found an ad saying they would be available at Costco. We searched and never found them, so we decided to make our own.

Notes: Please watch the video above, because honestly, these aren't too hard to make once you get the hang of it, but it is a completely visual recipe. You kind of have to see how it is done for it to totally make sense.

I love Ghirardelli melting wafers. That's what I used for the hot cocoa bombs in all but one (the final) picture. Even in that picture, I used the Ghirardelli melting wafers for half of those cocoa bombs. I found them in my local grocery store. If you can't find them locally, you can find them here.

I found dehydrated vanilla mini marshmallows on Amazon, here.

If doing a large batch, a squeeze bottle is easiest for drizzling chocolate. If doing a small batch, a spoon is easier. I used a squeeze bottle similar to these ones here.

The easiest way to steam milk is to put one cup of milk in a microwave safe container and microwave for 1 minute. Stir. After one minute, that is a good temperature for kids. If you like it hotter, microwave for an additional minute.

Also, if you long for the taste of real, tempered, cocoa butter packed chocolate, but can't figure out how to make them work in your molds without them shattering, simply put a couple of squares of high quality chocolate in a mug, add a scoop of hot cocoa, add some mini marshmallows, and then add some steaming hot milk and just enjoy it with the knowledge that you didn't make a huge mess of your kitchen in the process. 

Hot Cocoa Bomb Flavor Combinations:

  • Dark chocolate melting wafers, raspberry hot cocoa, red nonpareil sprinkles
  • Dark chocolate melting wafers, peppermint hot cocoa, crushed peppermint candies
  • Dark chocolate melting wafers, dark chocolate hot cocoa, chocolate sprinkles
  • Dark chocolate melting wafers, mint truffle hot cocoa, green sugar or crushed wint-o-greens candies
  • White chocolate melting wafers, white chocolate hot cocoa, red sugar
  • White chocolate melting wafers, pumpkin spice hot cocoa, cinnamon sugar or a little nutmeg
  • Dark or milk chocolate melting wafers or chocolate chips, salted caramel hot cocoa, finely chopped toffee, butterscotch candies, and/or coarse salt
  • Dark or milk chocolate melting wafers or chocolate chips, toasted coconut hot cocoa, toasted shredded coconut, finely chopped
  • Milk chocolate chips, peanut butter cup hot cocoa, crumbled Nutter Butter or other peanut butter cookies
  • White chocolate melting wafers, cookies and cream hot cocoa, crushed Oreo cookies
  • Dark chocolate melting wafers or milk chocolate chips, cookies and cream hot cocoa, crushed Oreo cookies
  • Milk chocolate chips, English toffee hot cocoa, finely chopped toffee
  • Milk chocolate chips, hazelnut hot cocoa, finely chopped hazelnut chocolate candy bar
  • Milk chocolate chips, mocha or macchiato flavored hot cocoa, chocolate sprinkles
  • Milk chocolate chips, Mexican style hot cocoa, cinnamon sugar
  • Milk chocolate chips, milk chocolate hot cocoa, mini chocolate chips or chopped chocolate 
  • Milk chocolate chips, cherry hot cocoa, red sugar  
  • Wherever your taste buds and your creativity take you! 


Above: This is the only picture that I took of the hot cocoa bombs that I made as gifts for my family. It was honestly such a process, I had so much to learn, and I was so under the gun to get them delivered on time that pictures didn't even occur to me until I was literally about to drop the last gift plate on my sister's porch. So, I grabbed my cell phone and snapped a few quick pics. Ha ha. Do yourself a favor and have a few trial runs to get comfortable with these before planning to make 50 at once to deliver while you are under a deadline to do it. 

The top two are dark chocolate Ghirardelli melting wafers, peppermint hot cocoa mix, mini marshmallows, and topped with crushed peppermint. The two below that are dark chocolate Ghirardelli melting wafers, raspberry hot cocoa mix, mini marshmallows, and topped with red nonpareils. The two  with red sugar are milk chocolate chips, milk chocolate cocoa mix, mini marshmallows, and red sugar sprinkles. 

The final one with green sprinkles is a mini long story. I ordered Ghirardelli milk chocolate melting wafers on my online pickup order, but then they were unavailable. This was the substitute the store made. Dang online order substitutions! Am I right? They looked like melting wafers, but turned out to be more like chocolate chips. They worked, but I didn't add shortening because I thought they were melting wafers. The result was that these were the hardest to assemble because they were so prone to melting. They exploded nicely when milk was poured on them though. So, that was milk chocolate wafers, milk chocolate hot cocoa, mini marshmallows, and green sprinkles.

I then made three more (the ones in all of the rest of the pictures), just so I could take pictures for this blog post. Ha ha! Those are dark chocolate melting wafers, raspberry hot cocoa, and red nonpareils and dark chocolate melting wafers, peppermint or candy cane hot cocoa, and crushed peppermints.

Above: You can also make them UFO-style. Instead of using the hot plate method to fuse the shell halves together, you pipe slightly cooled melted chocolate onto the edges and then put them together. You then roll the bomb in sprinkles, crushed candy, or chopped cookies for decoration. These are milk chocolate chips (without shortening), raspberry hot cocoa, and red sugar. These were my very first attempt at hot cocoa bombs. You can kind of see that when I handled them, the tops became less shiny and dull. These tasted like ambrosia though.

Again, sorry for the long post, but I hope my errors and learning experiences along the way will help you avoid problems in your own hot cocoa bomb journey.

However you decide to make them, I hope you love them as much as we did!

Thursday, August 11, 2016

Mexican Inspired Sweets


You can have these desserts separately or you can put them together for the ultimate Mexican dessert.


Aaron Sanchez's Mexican Brownies

Ingredients:

2 sticks unsalted butter, plus more for greasing
2 cups sugar
4 large eggs
2 teaspoons vanilla extract
2/3 cup good-quality unsweetened cocoa powder
1 cup all-purpose flour
1 teaspoon ground Mexican cinnamon (canela)
1/4 teaspoon pequin chili powder or cayenne pepper
1/2 teaspoon kosher salt
1/2 teaspoon baking powder

Directions:

Preheat the oven to 350 degrees F. Line a 9x13-inch baking dish with parchment paper, leaving an overhang on two sides. Press the paper into the corners of the pan and lightly grease the paper with butter.

Melt the 2 sticks of butter in a nonstick saucepan over medium-low heat; do not boil. Remove from the heat and let cool slightly. Add the sugar, eggs, and vanilla to the saucepan and stir with a wooden spoon until combined.

Add the cocoa, flour, cinnamon, chili powder, salt, and baking powder, and mix until smooth. Spread the batter in the prepared pan and bake until a toothpick inserted in the middle comes out fudgy, 20 to 25 minutes. Cool in the pan on a rack, then use the parchment paper to lift out the brownies before slicing.

Source: Food Network, recipe by Aaron Sanchez. You can find it here.

Notes: These brownies had a surprising amount of heat. Serving ice cream on top of them was perfect because it tempered the heat of the brownies perfectly. Even without the ice cream though, these brownies are perfect.


Dulce de Leche Ice Cream

Ingredients:

2 cups whole milk
1 cup heavy cream
1pound dulce de leche (about 1 2/3 cups); preferably La Salamandra brand
1/8 teaspoon pure vanilla extract
3/4 cup chopped pecans (2 1/2 to 3 oz), toasted, optional

Directions:

Bring milk and cream just to a boil in a 3-quart heavy saucepan over moderate heat, then remove from heat and whisk in dulce de leche until dissolved. Whisk in vanilla and transfer toa  metal bowl. Quick-chill by putting bowl in a larger bowl of ice and cold water and stirring occasionally until cold, 15 to 20 minutes.

Freeze mixture in ice cream maker until almost firm, then fold in pecans.

Transfer ice cream to an airtight container and put in freezer to harden, at least 1 hour.

Source: Epicurious. you can find it here.

Notes: This was so good. We made two batches. One bath was made without nuts and the second batch was made with toasted chopped almonds. This ice cream was sooo good. Smooth, sweet, and with a wonderful caramel flavor. I personally felt that while it was awesome on the Mexican brownies, the delicate flavor of the ice cream was a little overpowered by the heat of the cayenne in the brownies. So, top your brownies with this ice cream by all means, but be sure to have a few spoonfuls of the ice cream without the brownie to fully appreciate this wonderful ice cream.

Sunday, April 3, 2016

Yay for Poke Cakes!


Who doesn't love a nice, gooey, moist poke cake? This is a pretty wonderful one that will help you satisfy a lot of cravings. Caramel? Check. Nuts? Check. Chocolate? Check.


Chocolate-Caramel-Peanut Poke Cake

Ingredients:

1 box Betty Crocker SuperMoist chocolate fudge cake mix
Water, oil, and eggs called for on cake mix box
2 jars (11.5 oz each) salted caramel sauce
1 cup heavy whipping cream
1 tablespoon powdered sugar
1 cup chocolate-flavored syrup
1/2 cup chopped salted peanuts

Directions:

Heat oven to 350 degrees F. Spray 13x9-inch pan with cooking spray; line with cooking parchment paper.

Make cake as directed on box for 13x9-inch pan. Immediately after removing from oven, poke holes all over cake using chopstick. While cake is still warm, gently spread 1 1/2 jars of the caramel sauce over cake. Cool cake completely, then refrigerate 2 hours.

In medium bowl, beat cream and powdered sugar to stiff peaks. Spread over top of cake; drizzle with remaining caramel sauce and chocolate syrup; sprinkle with peanuts.

Source: Betty Crocker. You can find it here

Notes: Yummy goodness...not a light dessert though, by any means!

Saturday, March 14, 2015

Holiday Goodies: Peppermint Swirl Fudge


I loved this recipe because it is so versatile...and because you can't screw it up. I am really good at screwing up fudge...but you can't screw up this fudge recipe. I promise. Be sure to check out the recipe notes to see how you can make other variations of this. Oh, and those are Sweetened Condensed Cookies in the background. If you want to try those out, check the recipe out here. I made one batch of those with mini M&Ms and one batch with red and green mini M&Ms.


Peppermint Swirl Fudge

Ingredients:

1 teaspoon butter
1 package (10-12 ounces) white baking chips
1 can (16 ounces) vanilla frosting
1/2 teaspoon peppermint extract
8 drops red food coloring
2 tablespoons crushed peppermint candies

Directions:

Line a 9-in.-square pan with foil and grease the foil with butter; set aside.

In a small saucepan, melt chips; stir until smooth. Remove from the heat. Stir in frosting and extract. Spread into prepared pan. Randomly place drops of food coloring over fudge; cut through fudge with a knife to swirl. Sprinkle with candies. Refrigerate for 1 hour or until set.

Using foil, lift fudge out of pan. Gently peel off foil; cut fudge into 1-in. squares. Store in an airtight container.

Yield: about 1 1/2 pounds.

Source: Taste of Home. You can find it here.


Notes: I made this three separate ways. The white chocolate version as you see here, and a semi-sweet and milk chocolate version. For the semi-sweet, I used semi-sweet chocolate chips and chocolate fudge frosting. I then did a milk chocolate version where I used milk chocolate chips and chocolate fudge frosting. For both of those versions, I skipped the red food coloring (because you wouldn't really be able to see it swirled anyway...and it wouldn't have been as pretty). I'll have to add pictures of those ones later.

This was to die for delicious all three ways. You can't go wrong with this easy recipe.

Sunday, June 29, 2014

"What Is That Amazing Smell?"


"Chocolate! Ha ha ha!" I frequently get those lines from Frozen stuck in my head, but the good part about it is that my youngest son laughs at that line every single time (and he has the cutest laugh), and he now says "chocolate" in pretty much the cutest way possible.

Anyway, here is a great chocolate cake recipe that we recently found.


Chocolate Tres Leches Cake

Ingredients:

1 (18.25 ounce) package Swiss chocolate cake mix (such as Duncan Hines)
1 1/4 cups chocolate milk
1/2 cup canola oil
3 eggs
1 teaspoon instant espresso powder, optional
1 (14 ounce) can sweetened condensed milk
3/4 cup half-and-half
3/4 cup evaporated milk
3 tablespoons unsweetened cocoa powder
1 cup confectioners' sugar
1/2 cup unsweetened cocoa powder
3 cups heavy whipping cream

Directions:

Preheat oven to 350 degrees F. Prepare a 9x13-inch pan with butter and flour.

Bake cake mix, chocolate milk, canola oil, eggs, and espresso powder (if using) together in a large bowl with an electric hand mixer on a low speed until dry ingredients are moistened. Increase speped to medium and continue beating another 2 minutes; pour into prepared pan.

Bake in the preheated oven until a toothpick inserted into the center comes out clean, about 35 minutes. Remove cake from the oven and allow it to cool in the pan until it is no longer hot to the touch. While the cake is still warm, poke lots of holes all over the cake with a small skewer or a fork.

Whisk sweetened condensed milk, half-and-half, evaporated milk, and 3 tablespoons cocoa powder together in a bowl until cocoa is mostly incorporated into the liquid; slowly pour the milk mixture evenly over the cake. Allow the cake to cool completely as the liquid soaks into it.

Sift confectioners' sugar and cocoa powder together in a bowl.

Beat heavy whipping cream in a stand mixer on medium speed for about 1 minute. While continuing to mix, add sugar-and-cocoa mixture to the cream in 2 batches, allowing the first to incorporate before adding the second. Increase mixer speed to medium-high; beat until soft peaks form and the cream is thickened and spreadable. Spread chocolate whipped cream on the cake to serve.

Source: Allrecipes.com, submitted by MrsFisher0729. You can find it here.

Notes: It is currently rated as a 5 star recipe, and it deserves every one of those stars! This is yummy stuff.


Monday, May 26, 2014

Can I Ever Get Enough?


I don't think I can ever get enough of trying new brownie recipes. Even when you find the best brownie recipe ever, there is always the possibility of another brownie recipe that is the best for completely different reasons.

This brownie recipe was indeed speedy and very tasty.


Speedy Brownies

Ingredients:

2 cups sugar
1 3/4 cups all-purpose flour
1/2 cup baking cocoa
1 teaspoon salt
5 eggs
1 cup canola oil
1 teaspoon vanilla extract
1 cup (6 ounces) semisweet chocolate chips

Directions:

In a large bowl, beat the first seven ingredients. Pour into a greased 13 x 9-inch baking pan. Sprinkle with chocolate chips.

Bake at 350 degrees F for 30 minutes or until a toothpick inserted near the center comes out clean. Cool in pan on a wire rack.

Yield: about 3 dozen.

Nutrition information: 1 serving equals 155 calories.

Source: Taste of Home. You can find it here.

Notes: As I said, these were really good. I freaked out a little and over-baked mine because I was worried about them being underdone, but they were still great. Oh, and I always laugh when recipes like this give you a yield of 3 dozen. Seriously? How small do they think I cut my brownies?


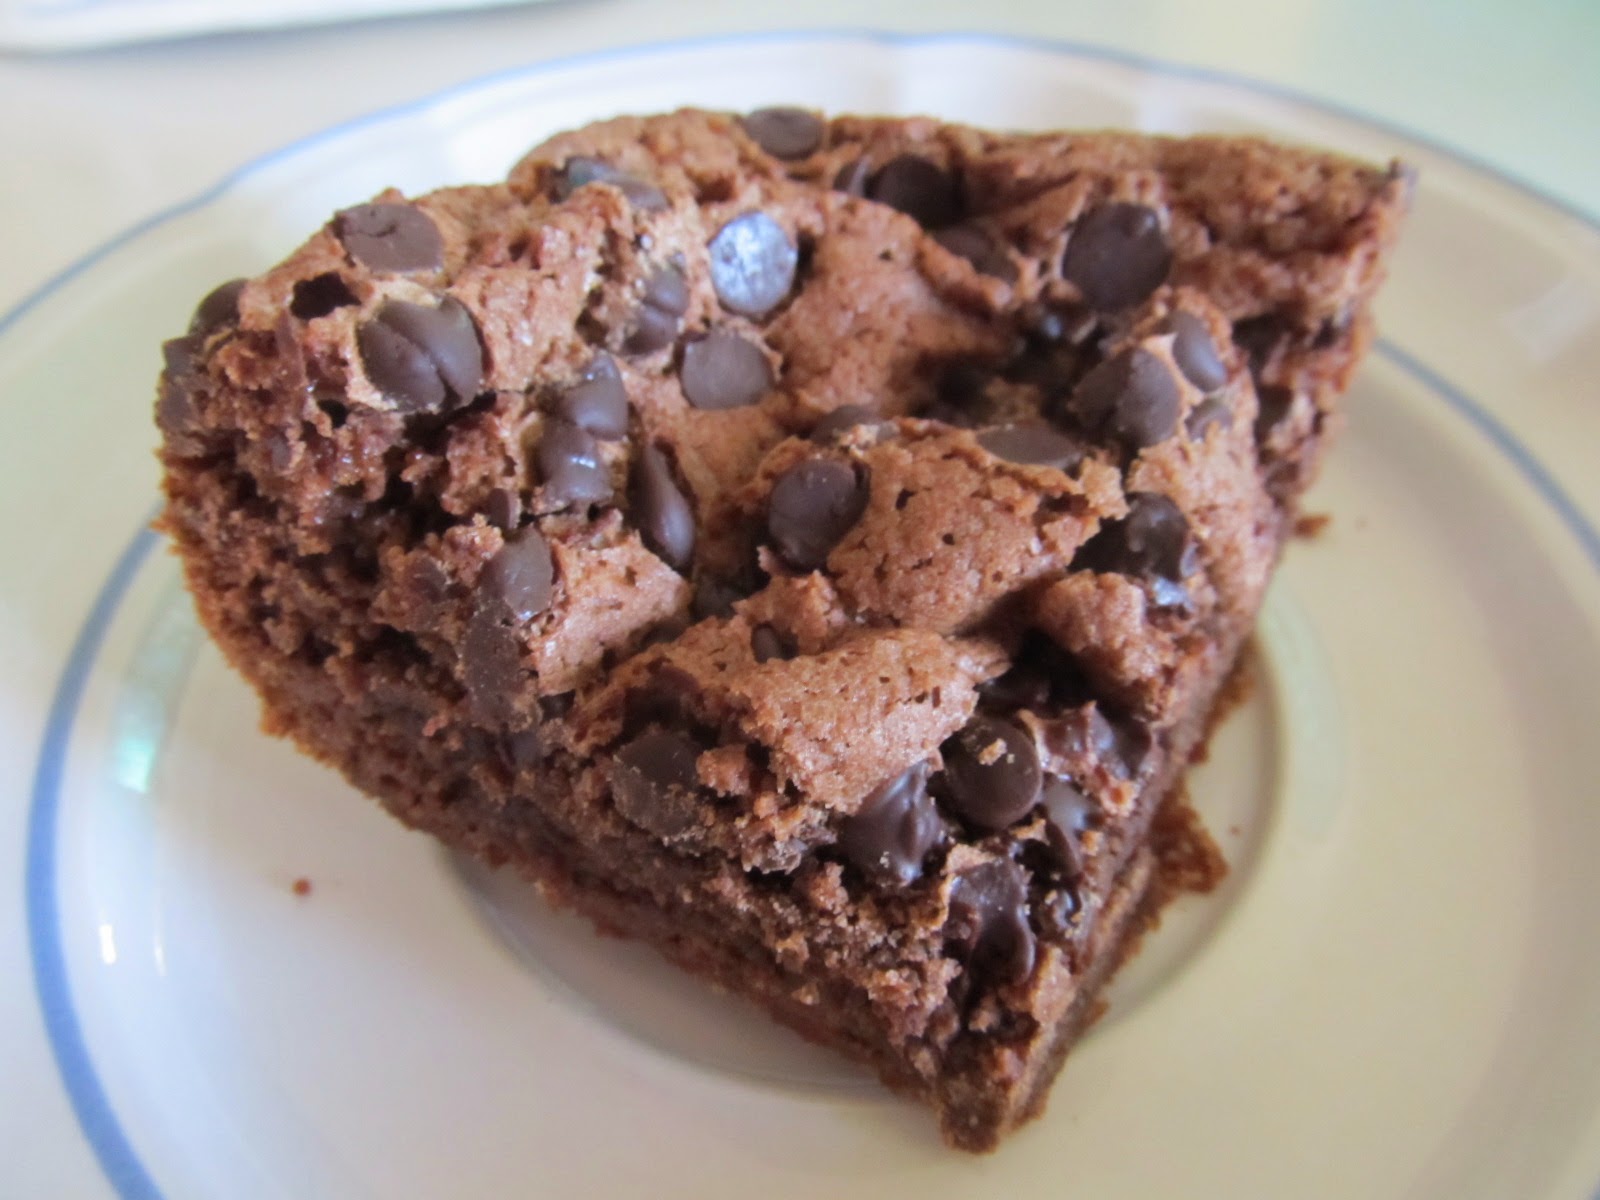
Above: I only had one corner piece left when I realized that I hadn't taken any pictures yet. That is why this kind of looks like a chocolatey piece of pie. Yummy stuff though!

Sunday, November 10, 2013

Nah, Try Just One

I have made these bars twice now.  Be forewarned that they are very, very rich.  Megan said that they tasted like hot fudge in a cookie form.  I really appreciate when I find a good and easy cookie bar recipe.  They are so easy for all of those pot luck functions or when you are asked to bring a treat somewhere.  This would work as a good pantry recipe, too, for impromptu treats to take to a sick neighbor, work sharing, etc.  Oh, you will find a lot of uses for this one.


CAN'T LEAVE ALONE BARS

1 package white cake mix (regular size)
2 eggs
1/3 cup canola oil
1 can (14 oz.) sweetened condensed milk
1 cup (6 oz.) semisweet chocolate chips
1/4 cup butter, cubed

In a large bowl, combine the cake mix, eggs, and oil.  Press two-thirds of the mixture into a greased 13x9 in baking pan.  Set remaining cake mixture aside.

In a microwave safe bowl, combine the milk, chocolate chips and butter.  Microwave, uncovered, until chips and butter are melted; stir until smooth.  Pour over crust.

Drop teaspoonfuls of remaining cake mixture over the top.  Bake at 350 degrees for 20-25 minutes or until lightly browned.  Cool before cutting.  Yield: 3 dozen.

Source:  I found this in a couple of places, but printed it up from Taste of Home. You can find it here.

Cook's notes:  I think I made this once with milk chocolate and it was a little too sweet.  I know, I know that sounds almost impossible.  But try it with the semisweet.  I think you'll like it.

Sunday, October 27, 2013

Brownies!


Brownies are one of my favorite things ever. If you don't like brownies, you need to question your priorities.


Guilt-Free Brownies

Ingredients:

4 ounces semi-sweet chocolate, broken into pieces
2 tablespoons unsalted butter
1 cup sugar
1 large egg, plus 1 large egg white
1 container (2.5 ounces) prune puree (1/4 cup)
2 teaspoons vanilla extract
1/2 teaspoon salt
3/4 cup all-purpose flour, (spooned and leveled)
1/3 cup unsweetened cocoa powder

Directions:

Preheat oven to 350 degrees F. Line bottom and sides of an 8-inch-square baking pan with foil, leaving a 2-inch overhang. Set aside.

In a small saucepan, bring an inch of water to a simmer over low heat. Place chocolate and butter in a medium heatproof bowl; set bowl over pan. Stir occasionally until melted. Remove from heat. Immediately whisk in sugar, egg, egg white, prune puree, vanilla, and salt until smooth.

In a medium bowl, sift together flour and cocoa. Stir into chocolate mixture just until incorporated.

Spread batter in prepared pan. Bake until top is firm (a toothpick inserted in center will come out with a few moist crumbs), about 30 minutes. Let cool completely in pan. Using foil, lift brownies from pan. Peel off foil. Using a serrated knife, cut into 16 squares.


Source: Martha Stewart Everyday Food January/February 2005. You can find it here.

Notes: I microwaved the chocolate rather than doing a double boiler approach. You could also use 1/2 cup of semi-sweet chocolate chips if you don't have the baking chocolate bars. Also, I don't know how guilt-free these brownies are when you and your husband pretty much eat the whole thing between the two of you within 48 hours.


Ghirardelli Classic Brownies

Ingredients:

4 oz. Ghirardelli semi-Sweet Chocolate Baking Bar (1 bar)
1 cup brown sugar, packed
2 large eggs
1/4 tsp. baking powder
1/2 tsp. salt
1 stick (1/2 cup) unsalted butter, cut into pieces
1 tsp. vanilla
3/4 cup and 2 tablespoons all-purpose flour
1/3 cup Ghirardelli Semi-Sweet Chips

Directions:

Preheat oven to 350 degrees F. Butter and flour an 8x8-inch pan. In a heavy 1 1/2 quart saucepan, melt chocolate bar and butter over low heat, stirring until smooth.

Remove pan from heat; cool to room temperature. Stir in brown sugar and vanilla. Add eggs, mix well. In bowl, sift together flour, baking powder, and salt. Slowly fold in flour mixture; mix well. Stir in chips. Pour butter in pan. Bake for 25-30 minutes, or until a tester comes out clean.

Source: I got this on the back of my bar of Ghirardelli semi-sweet chocolate baking bar. You can find the recipe here.

Notes: The only change I made was that I didn't stir in any chocolate chips since I didn't have any on hand. They still tasted great. I can only imagine that chips within the brownie just made it even more awesome!